Setup
- Sign in to the workspace whose brand should guide future drafts.
- Gather your brand name, positioning, voice notes, and any product, persona, or spokesperson details.
- Required files or assets: none; optional spokesperson photos — PNG, JPEG, or WebP, up to 10 MB.
Step by step
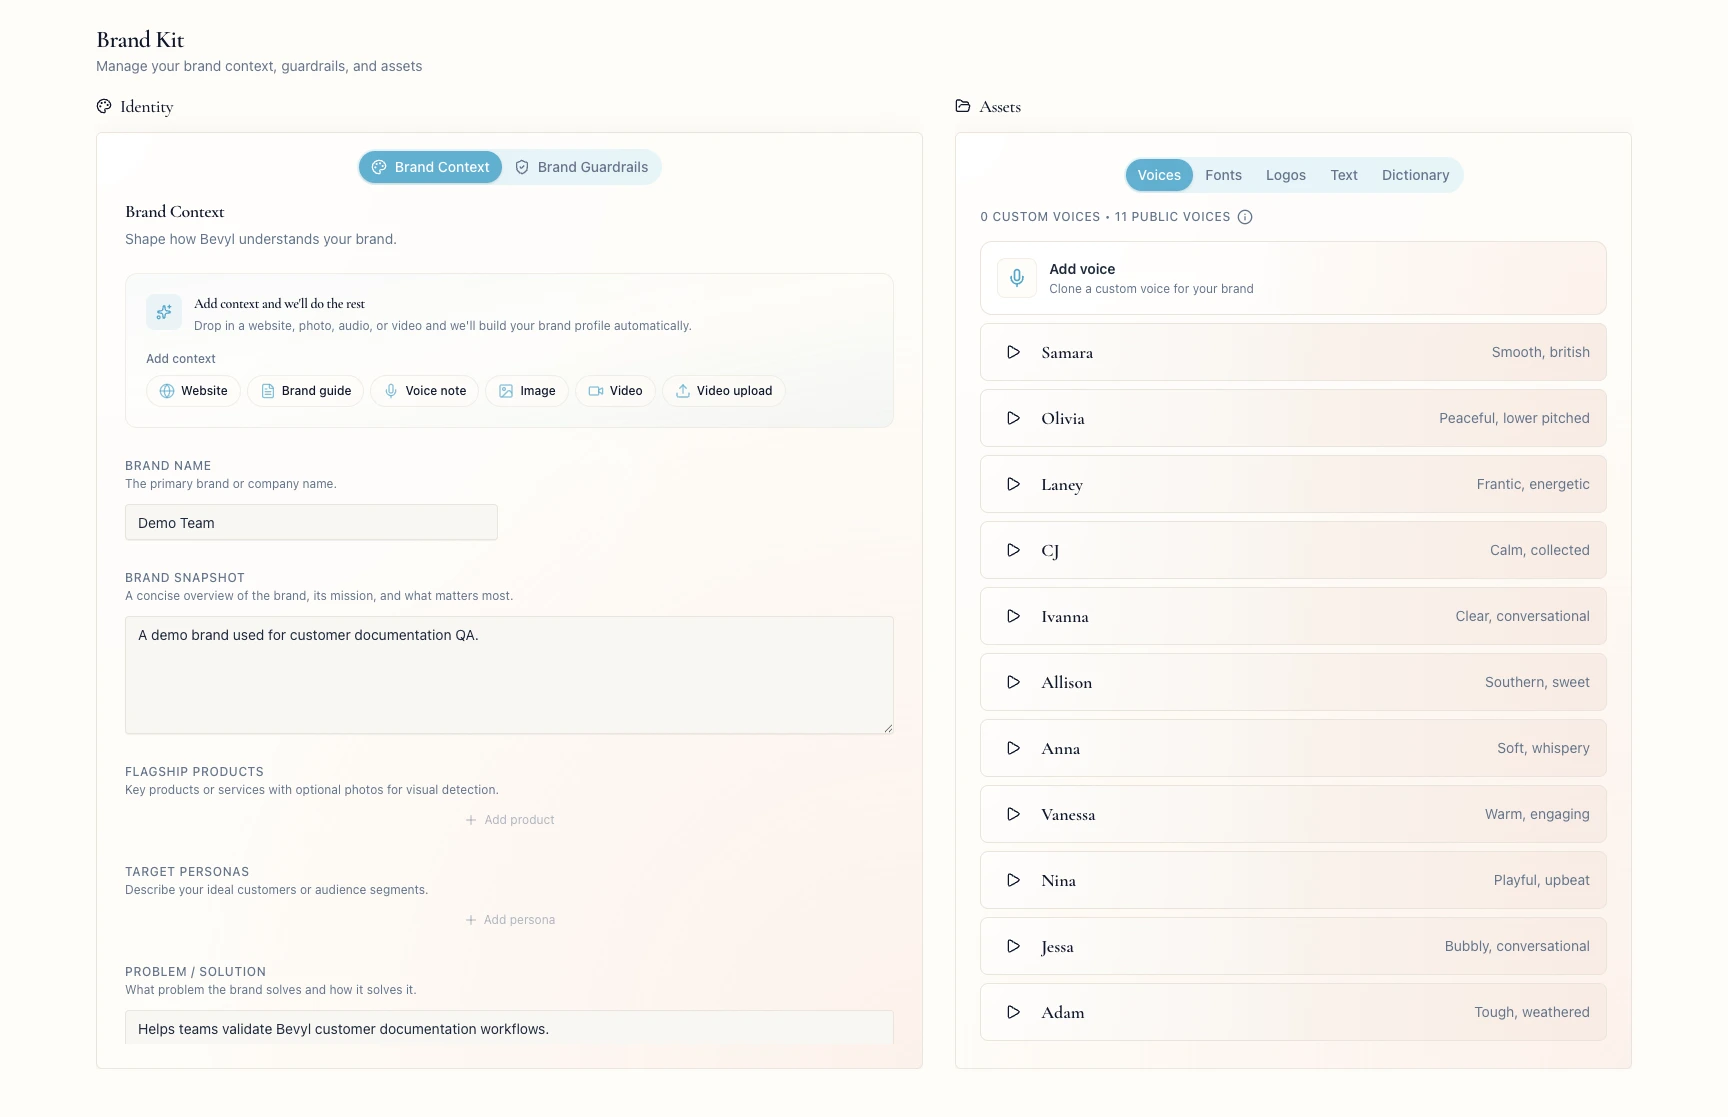
1. Open Brand Kit
From your workspace, open Brand Kit in the sidebar.
Identity sits on the left, Assets on the right.
2. Fill in Brand Context
In Identity, select Brand Context.
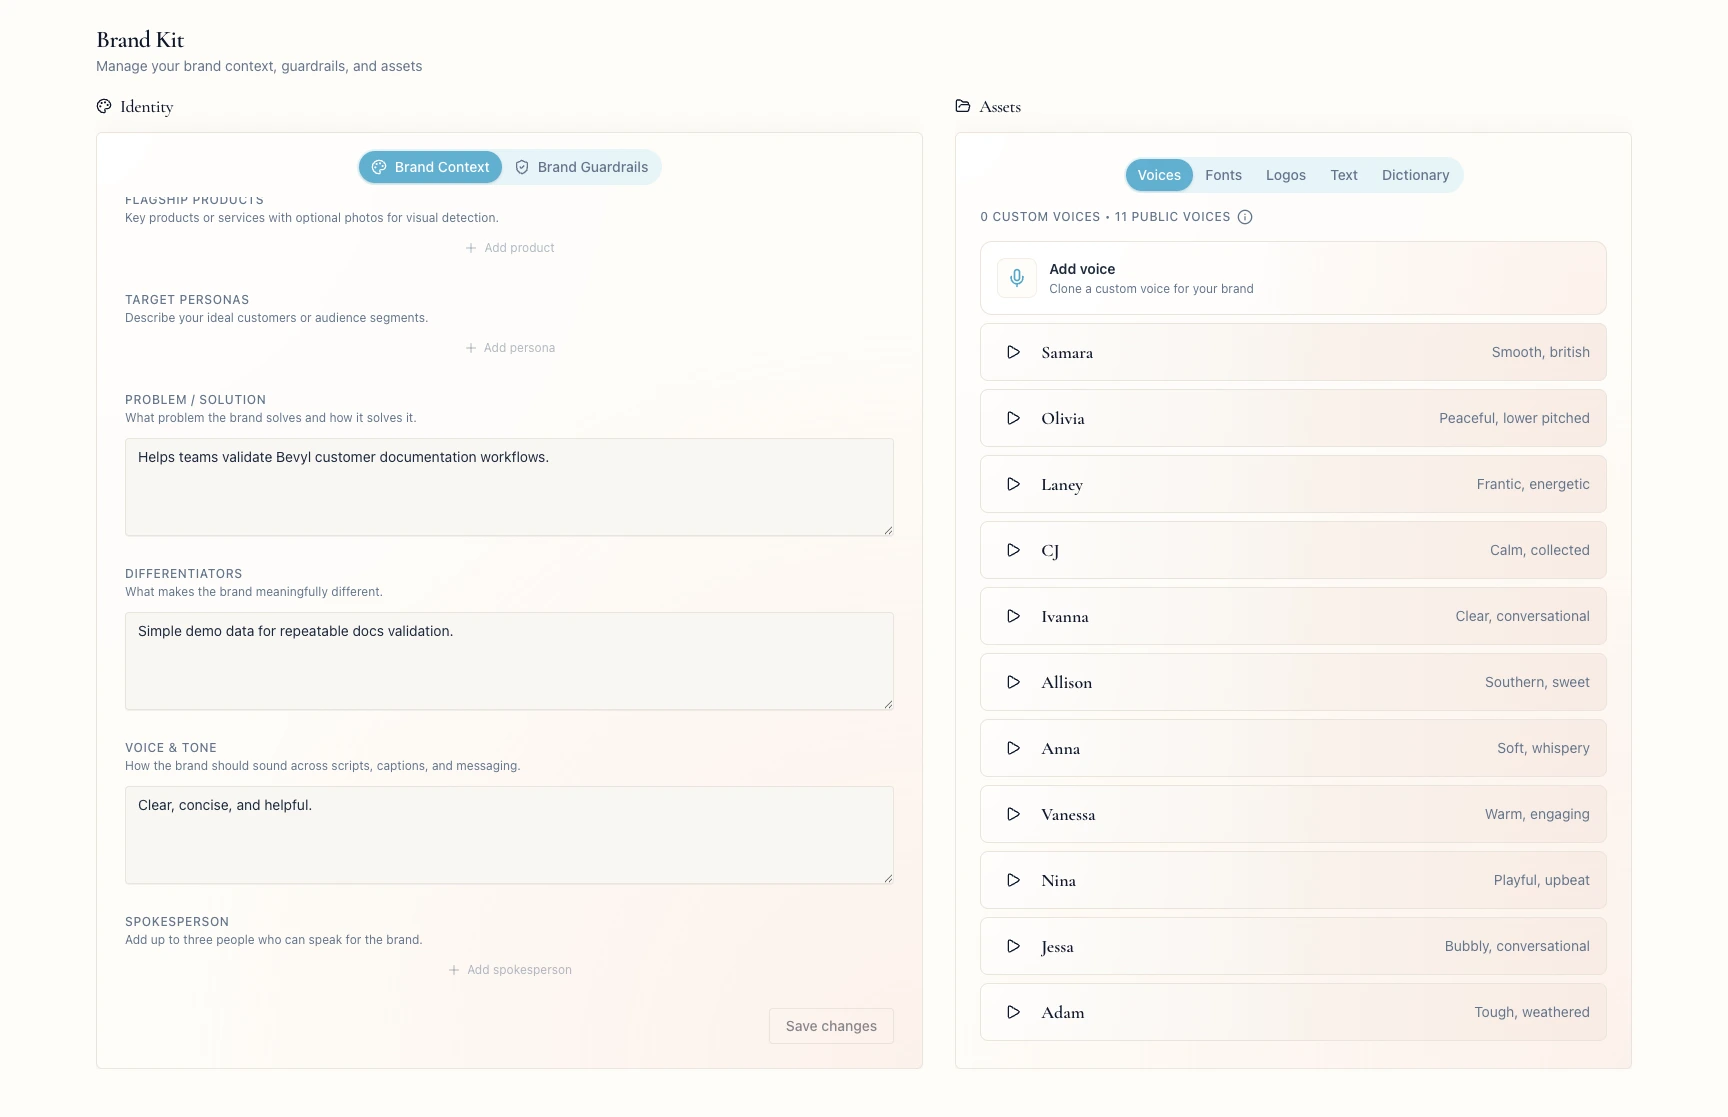
Enter the basics your drafts should follow: Brand Name, Brand Snapshot, Flagship Products, Target Personas, Problem / Solution, Differentiators, and Voice & Tone. Add entries with Add product and Add persona.
Under Spokesperson, name the people who speak for the brand; click Add spokesperson for each.
Click Save changes.
3. Add Brand Guardrails
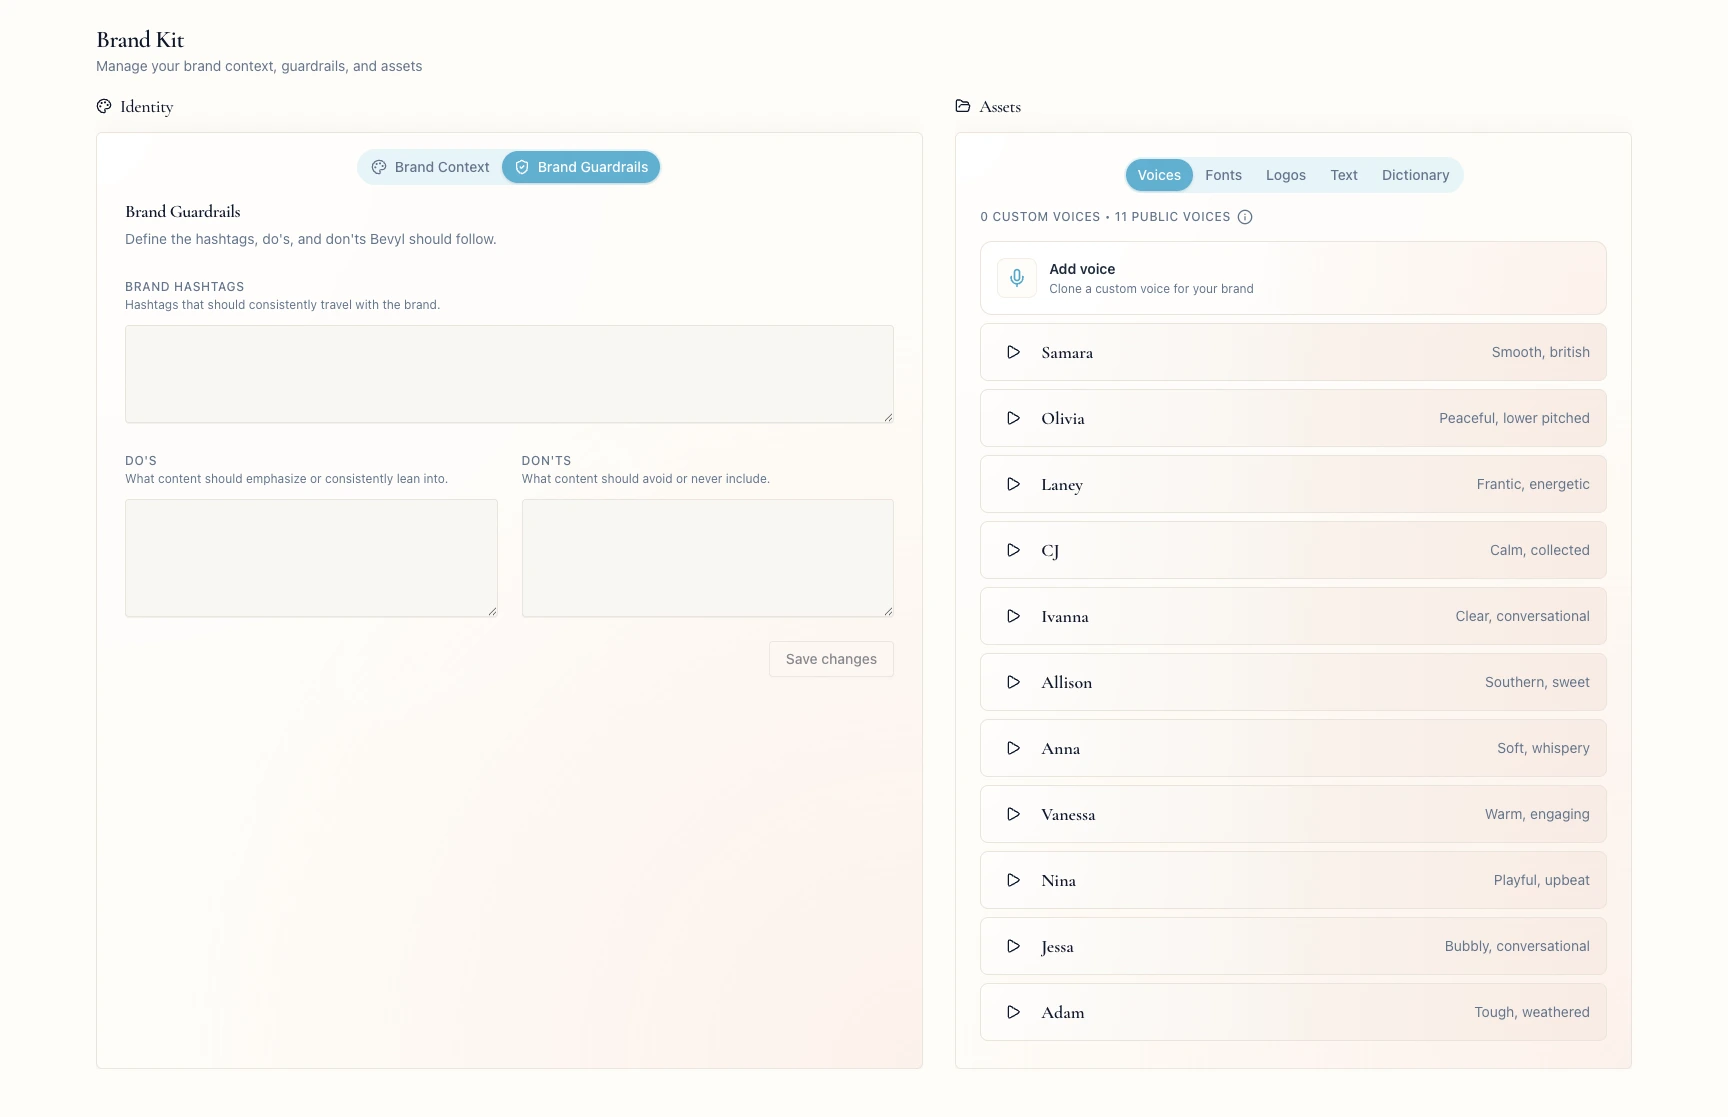
Select Brand Guardrails.
Put recurring hashtags in Brand Hashtags, what content should emphasize in Do's, and what it must avoid in Don'ts.
Click Save changes.
4. Review Assets
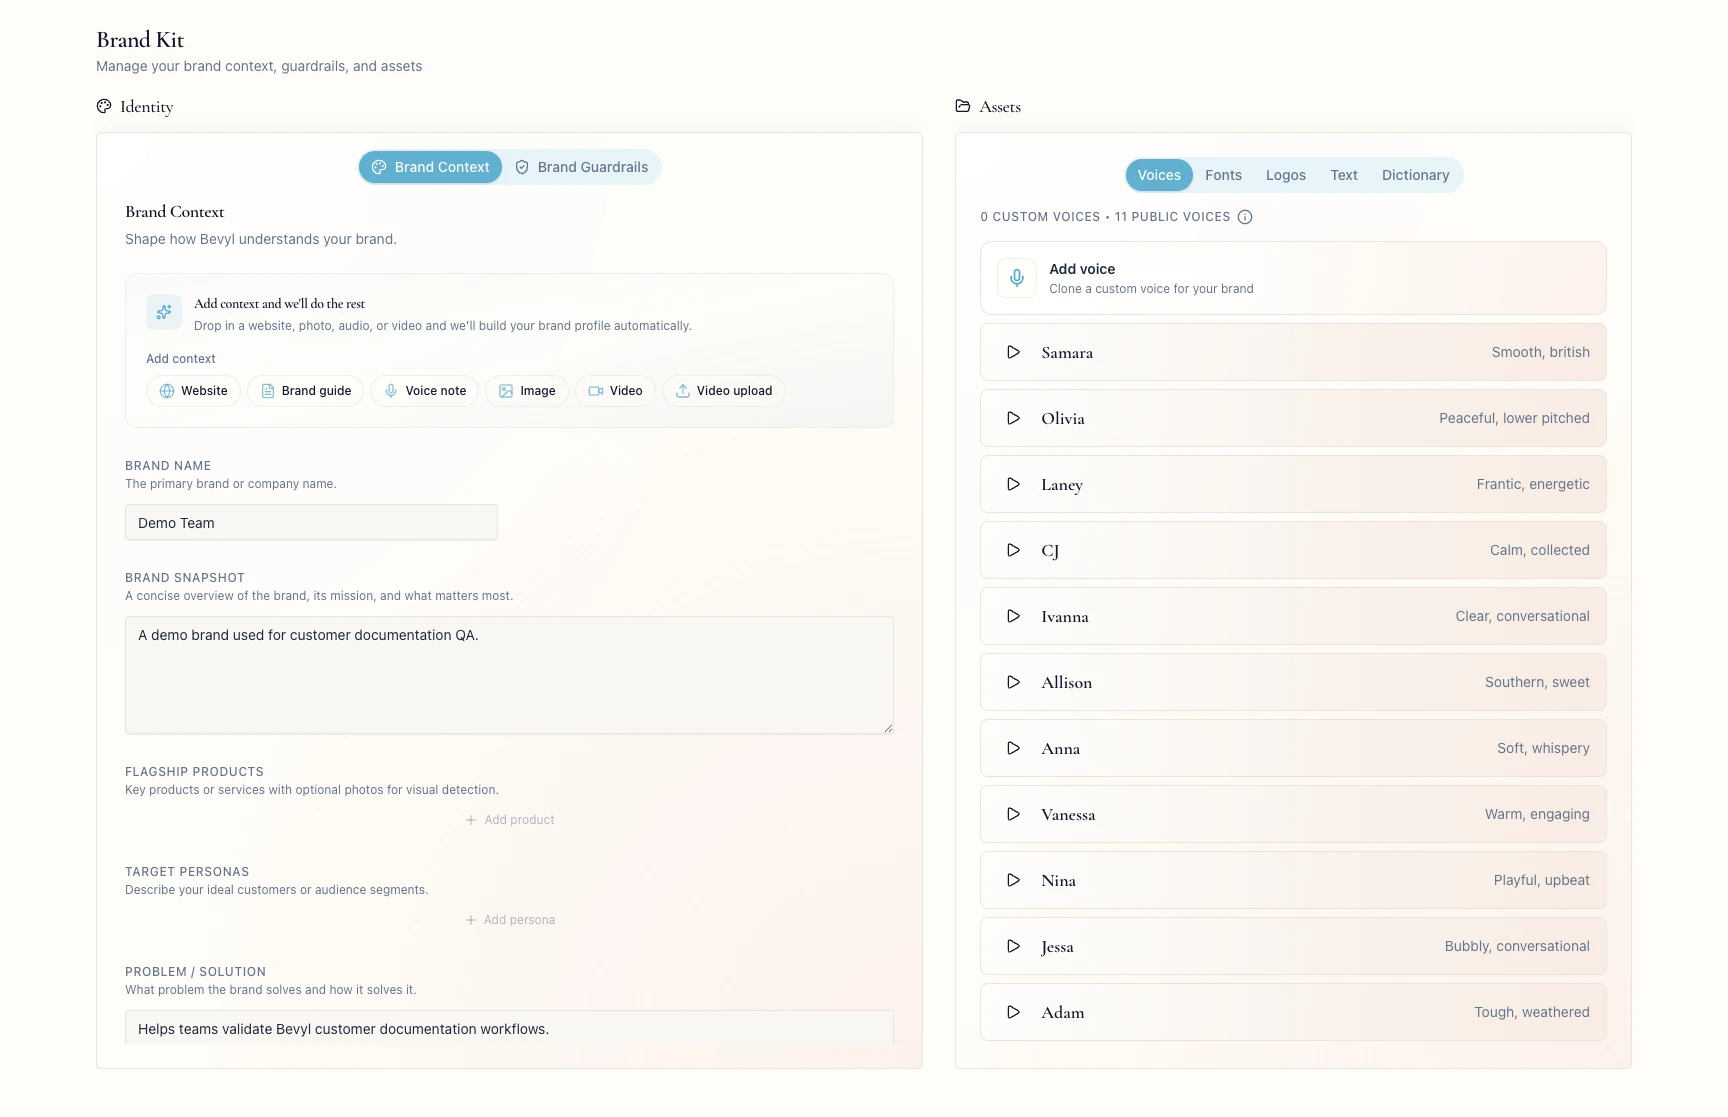
In Assets, work through the tabs: Voices, Fonts, Logos, Text, and Dictionary.
Add only what you are ready to use. If a tab is missing from your workspace, carry on with the rest.
If something blocks you
Brand Kit does not open: sign in and choose a team first — the sidebar shows Brand Kit only inside a workspace.Save changes is disabled: it activates after an edit in the active tab.Add spokesperson is missing: three is the cap — remove an unused row.
Done
Brand Kit holds your identity, guardrails, and whichever assets you added.
Next actions:
- Create or update a project so Bevyl can draw on the saved context.
- Return here whenever your positioning, voice, or assets change.
Related articles
