Manage Brand Voices
Add and tune custom voice clones so Bevyl can use the right voiceover style, speaker, and delivery for each branded video.
Setup
- Sign in to the workspace whose voices you manage.
- Confirm your plan includes voice assets in
Brand Kit. - Required files or assets: one audio or video file — up to 10 MB, with at least 10 seconds of clear speech — or a browser microphone to record one.
Step by step
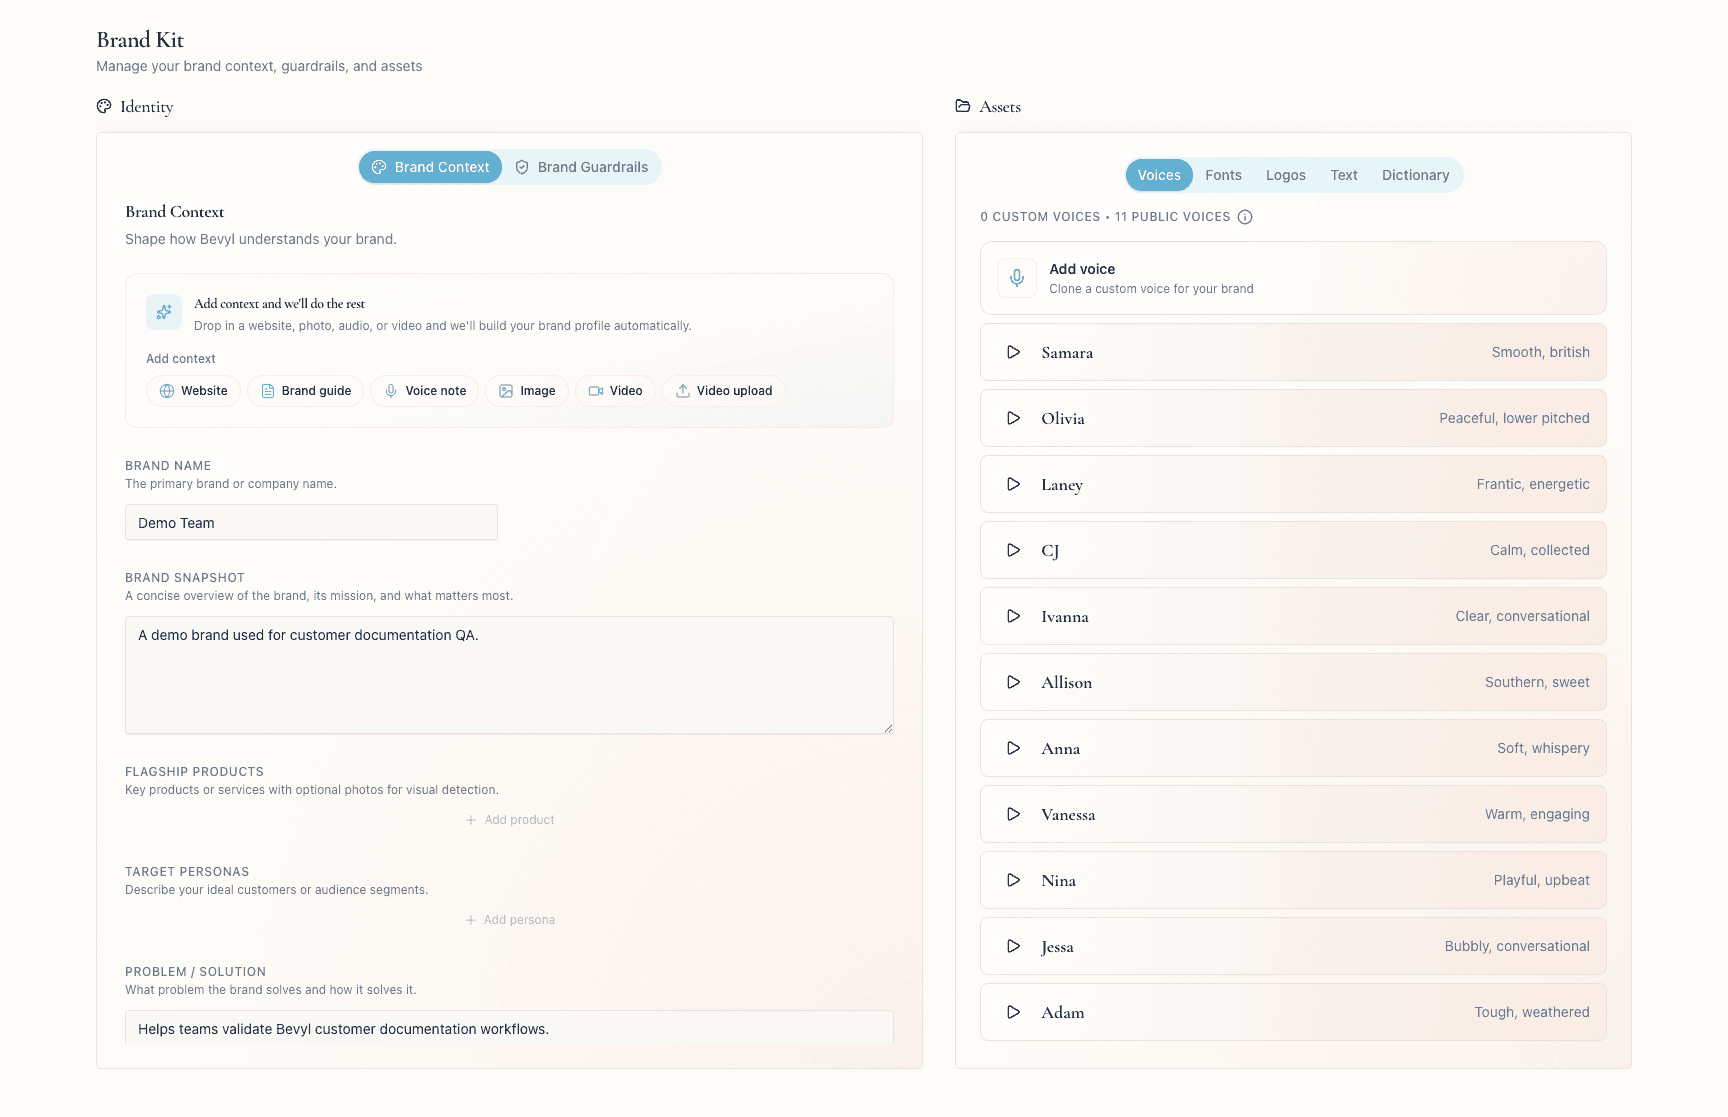
1. Open the Voices asset tab
From your workspace, open Brand Kit and find Assets.
Click Voices.
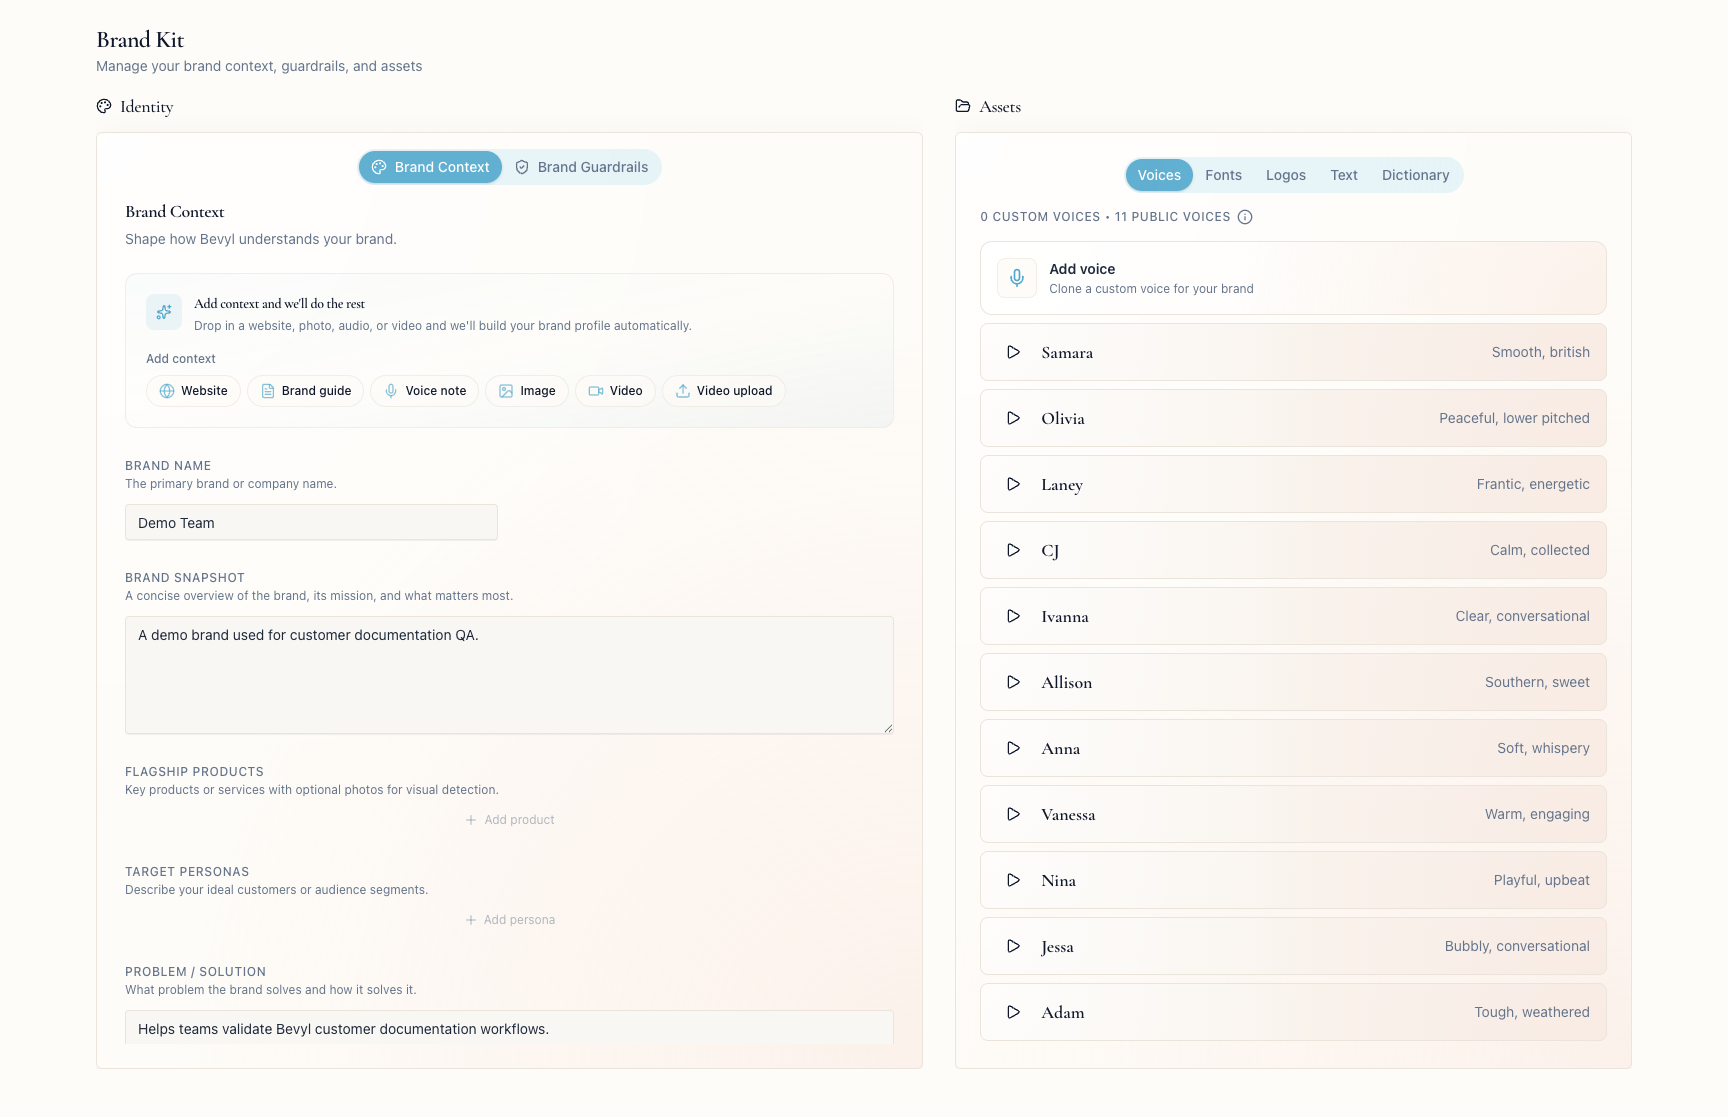
2. Start a new voice clone
Click Add voice.
The Bevyl Voice Clone page opens with three steps: Upload Audio, Review, and Name Your Voice.
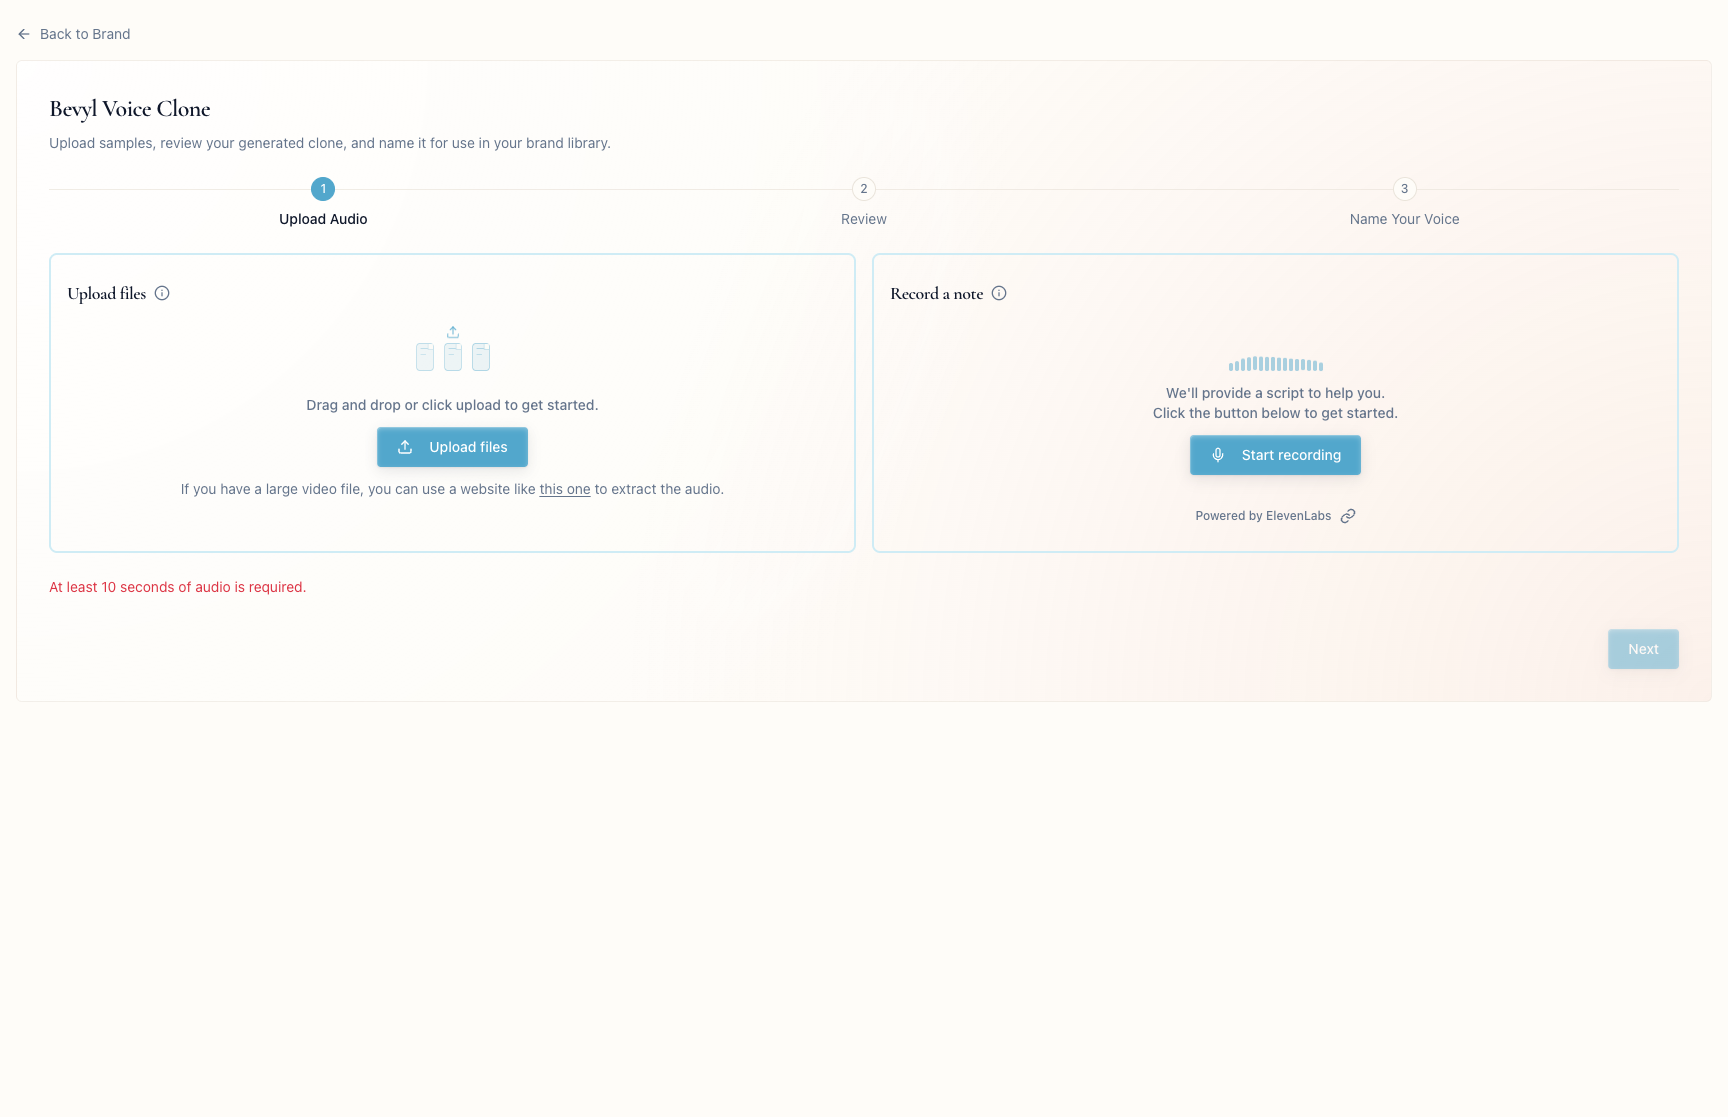
3. Add source audio
Upload an audio or video file under Upload files, or click Start recording under Record a note to capture audio in the browser.
Next unlocks after 10 seconds of clear audio.
Each clone uses one source clip; uploading or recording again replaces it.
4. Review the generated voice
Click Next and keep the tab open while Bevyl builds the clone.
On Review your voice, play the sample. Click Sounds good to continue, or Try again to discard it and start over.
5. Name the voice
On Name your voice, enter a name your team will recognize.
Click Finish.
Bevyl returns you to Brand Kit; the new voice appears in the Voices list.
6. Adjust a saved custom voice
In the Voices list, click Adjust on a custom voice.
Drag Speed to slow or quicken the delivery, and Stability to trade variety for consistency. Click Save Voice to update the preview.
7. Rename or delete a saved custom voice
Click the voice's name to rename it; press Enter or click away to save.
To delete a voice, click the Delete voice trash icon and confirm Delete.
If something blocks you
Nextis disabled: give it at least 10 seconds of clear audio.- The upload stalls: keep the file under 10 MB, or extract the audio from a large video first.
- The clone sounds wrong: click
Try againwith a cleaner sample. - You cannot add another custom voice: self-service workspaces may be capped at one — delete an unused voice, upgrade, or contact support.
Done
The custom voice is saved under Assets → Voices in Brand Kit.
Next actions:
- Pick the voice when you create a project or regenerate a voiceover.
- Return here to rename, adjust, or delete it.
Related articles
Voice clone not working?
Contact Bevyl support if audio upload, recording, or voice creation does not complete after retrying.