Upload Logos and Set Logo Placement
Add logo overlays to Brand Kit and choose where they appear in generated projects so exported videos stay visually on-brand.
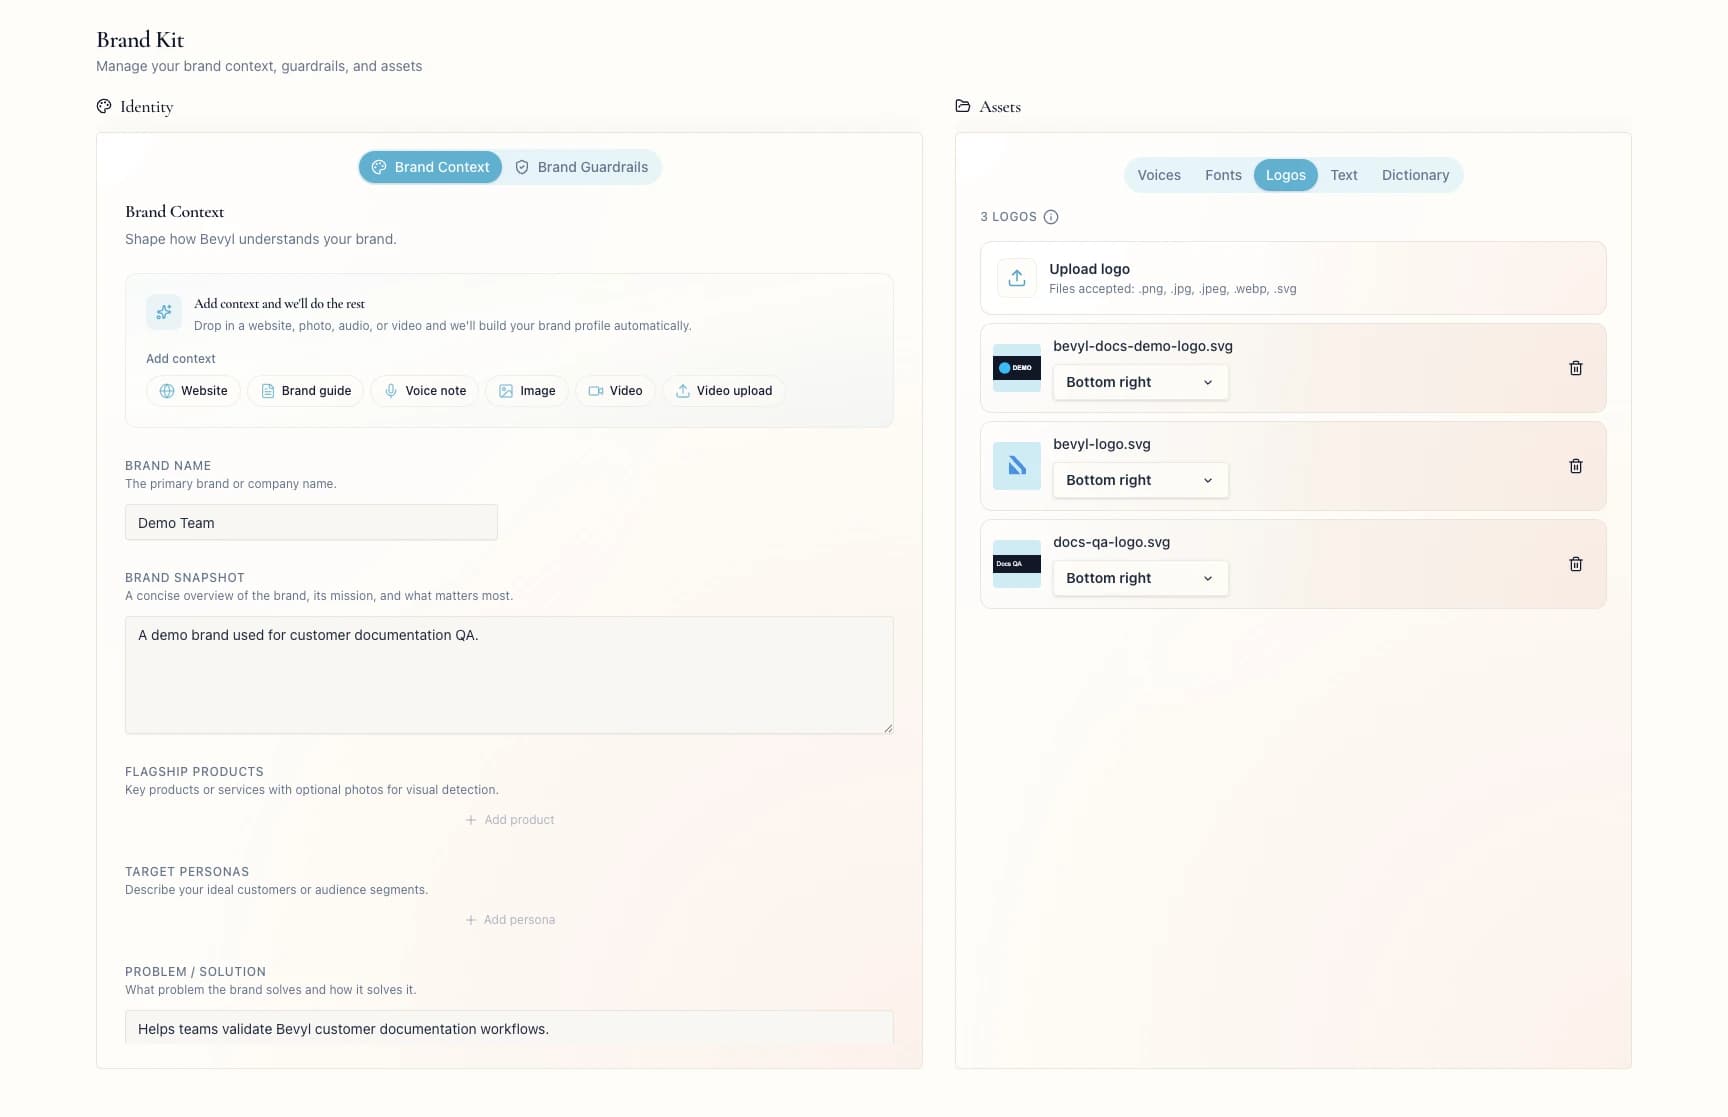
Setup
- Sign in to the workspace whose logo defaults you want to change.
- Required files or assets: a
.png,.jpg,.jpeg,.webp, or.svglogo, up to 10 MB.
Step by step
1. Open Brand Kit
From your workspace, open Brand Kit.
2. Open Logos
Click Logos.
The tab shows saved logos, or No logos uploaded, plus Upload logo.
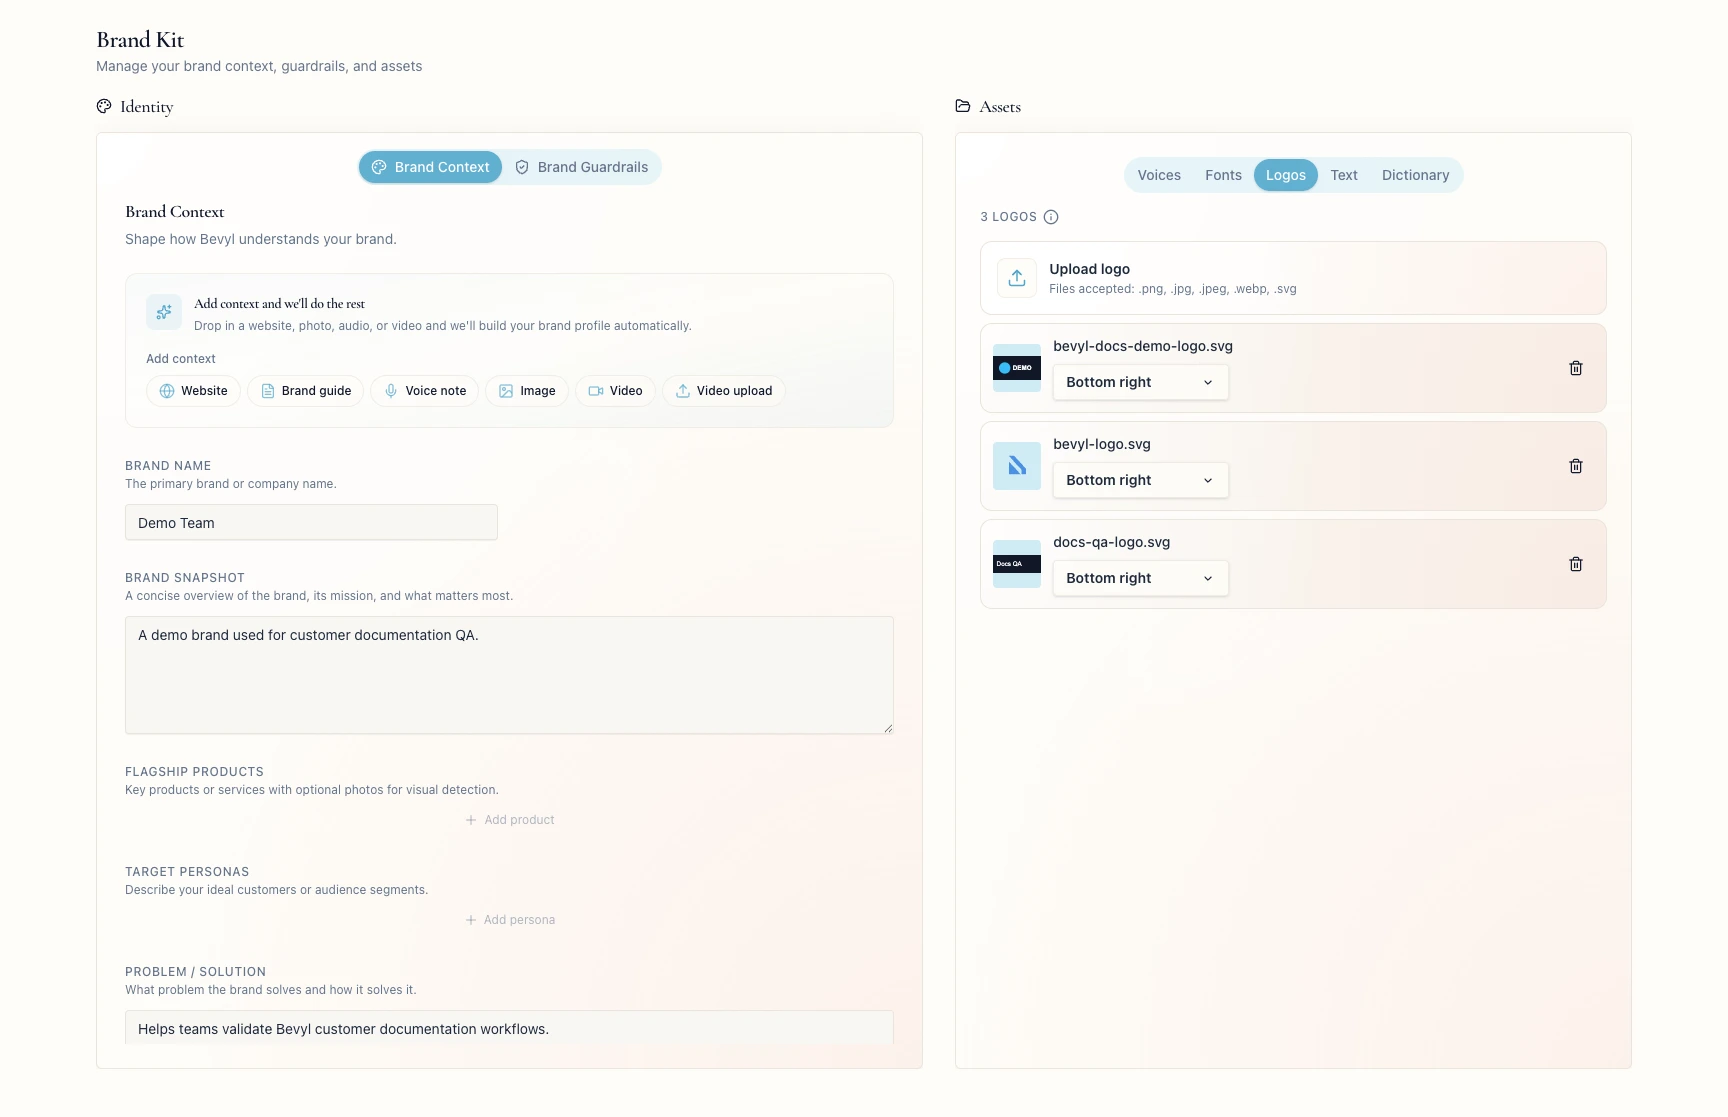
3. Upload a logo file
Click Upload logo and pick the logo file.
The logo joins the list with the default Bottom right placement.
Brand Kit holds up to eight logos.
4. Set the logo position
Click the placement value beside the logo. New logos start at Bottom right.
Choose Top left, Top right, Bottom left, Bottom right, or Center.
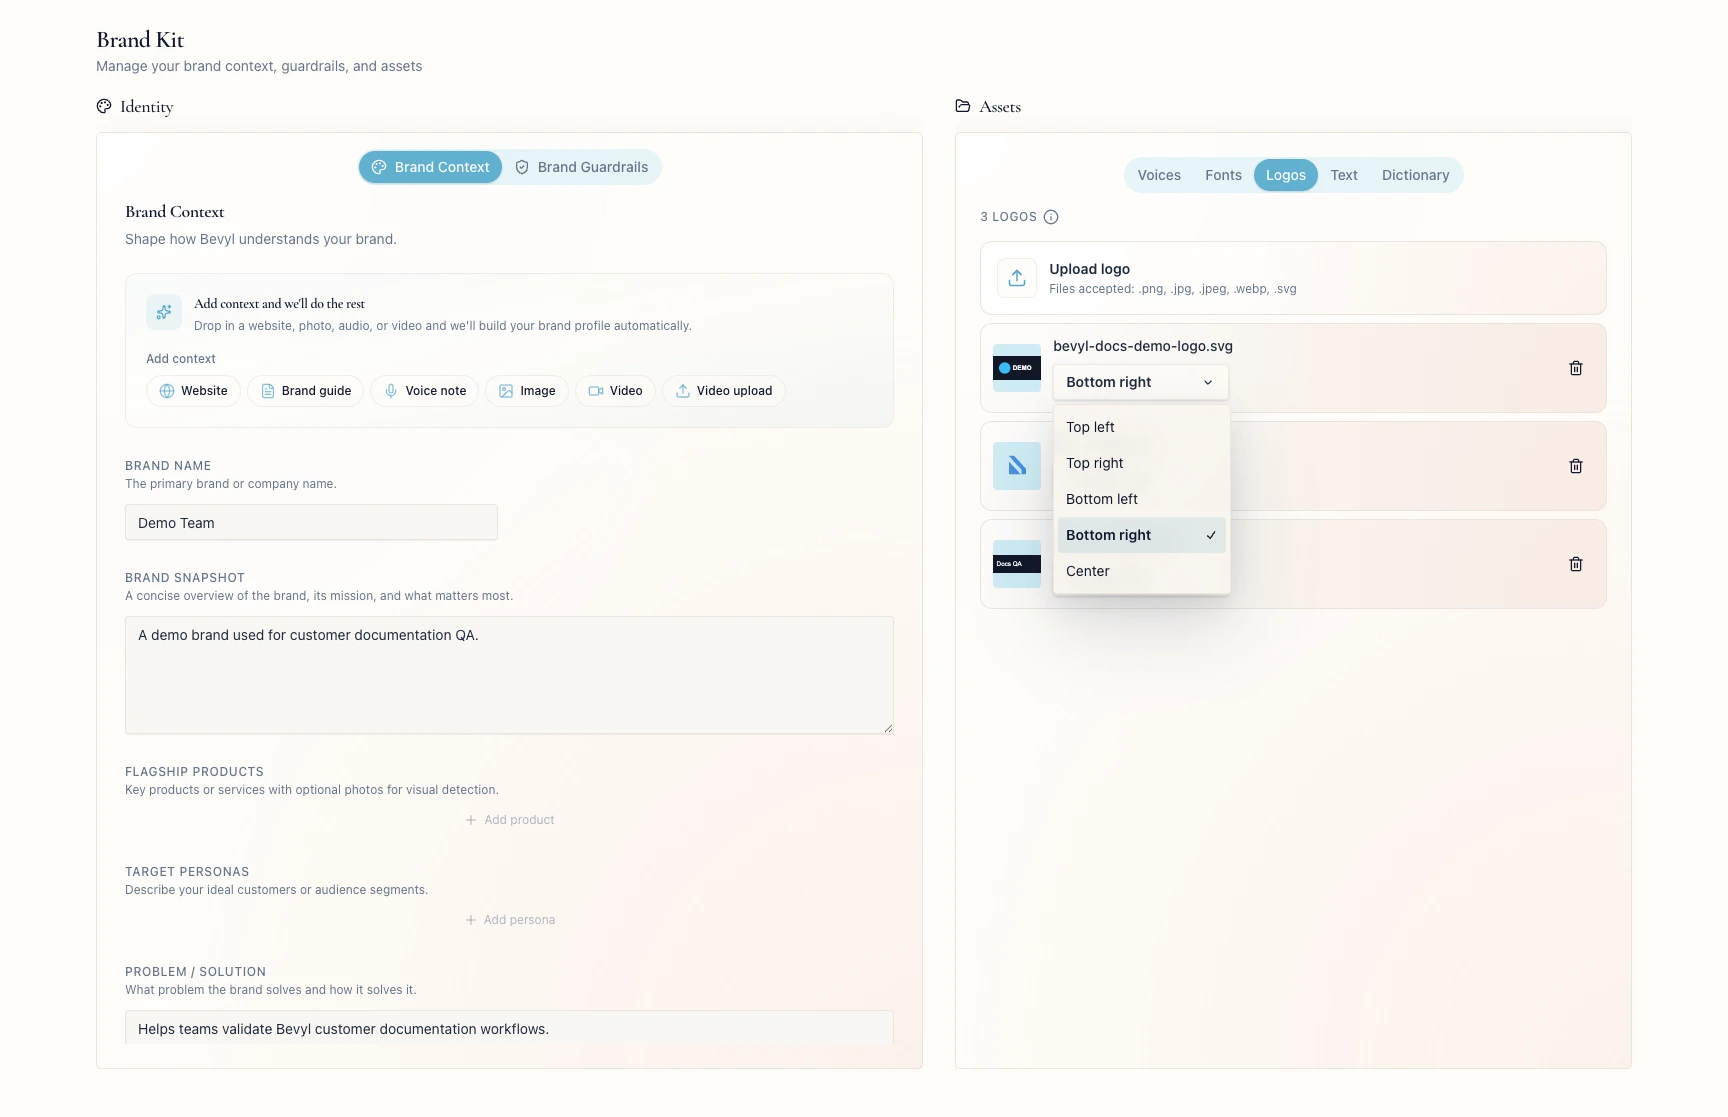
Bevyl saves the placement for generated logo overlays.
5. Remove a logo when needed
Click the Remove logo trash icon.
It disappears from the list.
If something blocks you
Upload logois disabled: let the current upload finish.- The file is rejected: use an accepted format and stay under 10 MB.
- The workspace has no brand identity yet: set up Brand Kit first, then return to
Logos. - The list is full: delete an old logo — eight is the cap.
Done
The logo appears in Logos with the placement you chose.
Next actions:
- If your workspace has the
Texttab, set text defaults so captions use your brand colors. - Create a project and check the logo placement against your campaign.
Related articles
Logo not saving?
Contact Bevyl support if an accepted logo file uploads but does not stay in Brand Kit.