Upload Fonts and Text Defaults
Upload your custom brand fonts to the Bevyl Brand Kit and set default text styles so on-screen captions and overlays stay on-brand everywhere.
Setup
- Sign in to the workspace whose brand fonts you want to update.
- Required files or assets: a font file in
.ttf,.otf,.woff, or.woff2format.
Step by step
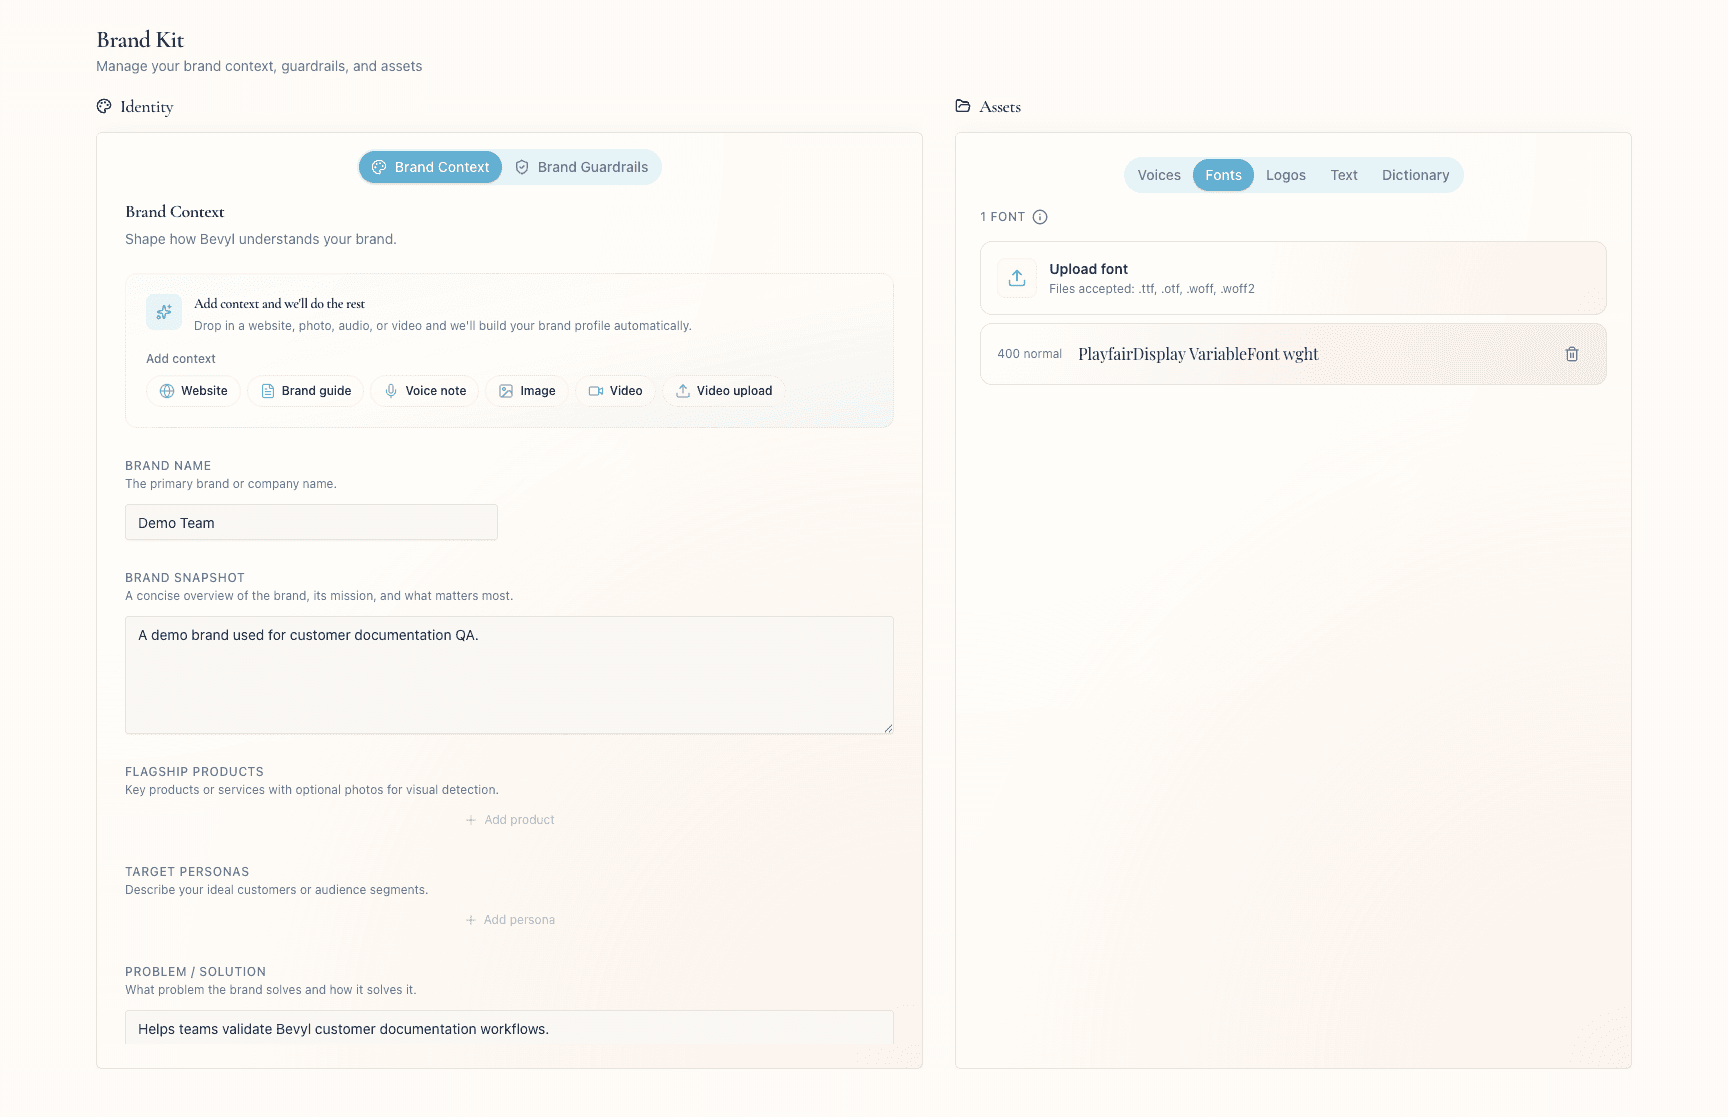
1. Open Brand Kit
From your workspace, open Brand Kit.
The title reads Brand Kit, subtitled Manage your brand context, guardrails, and assets.
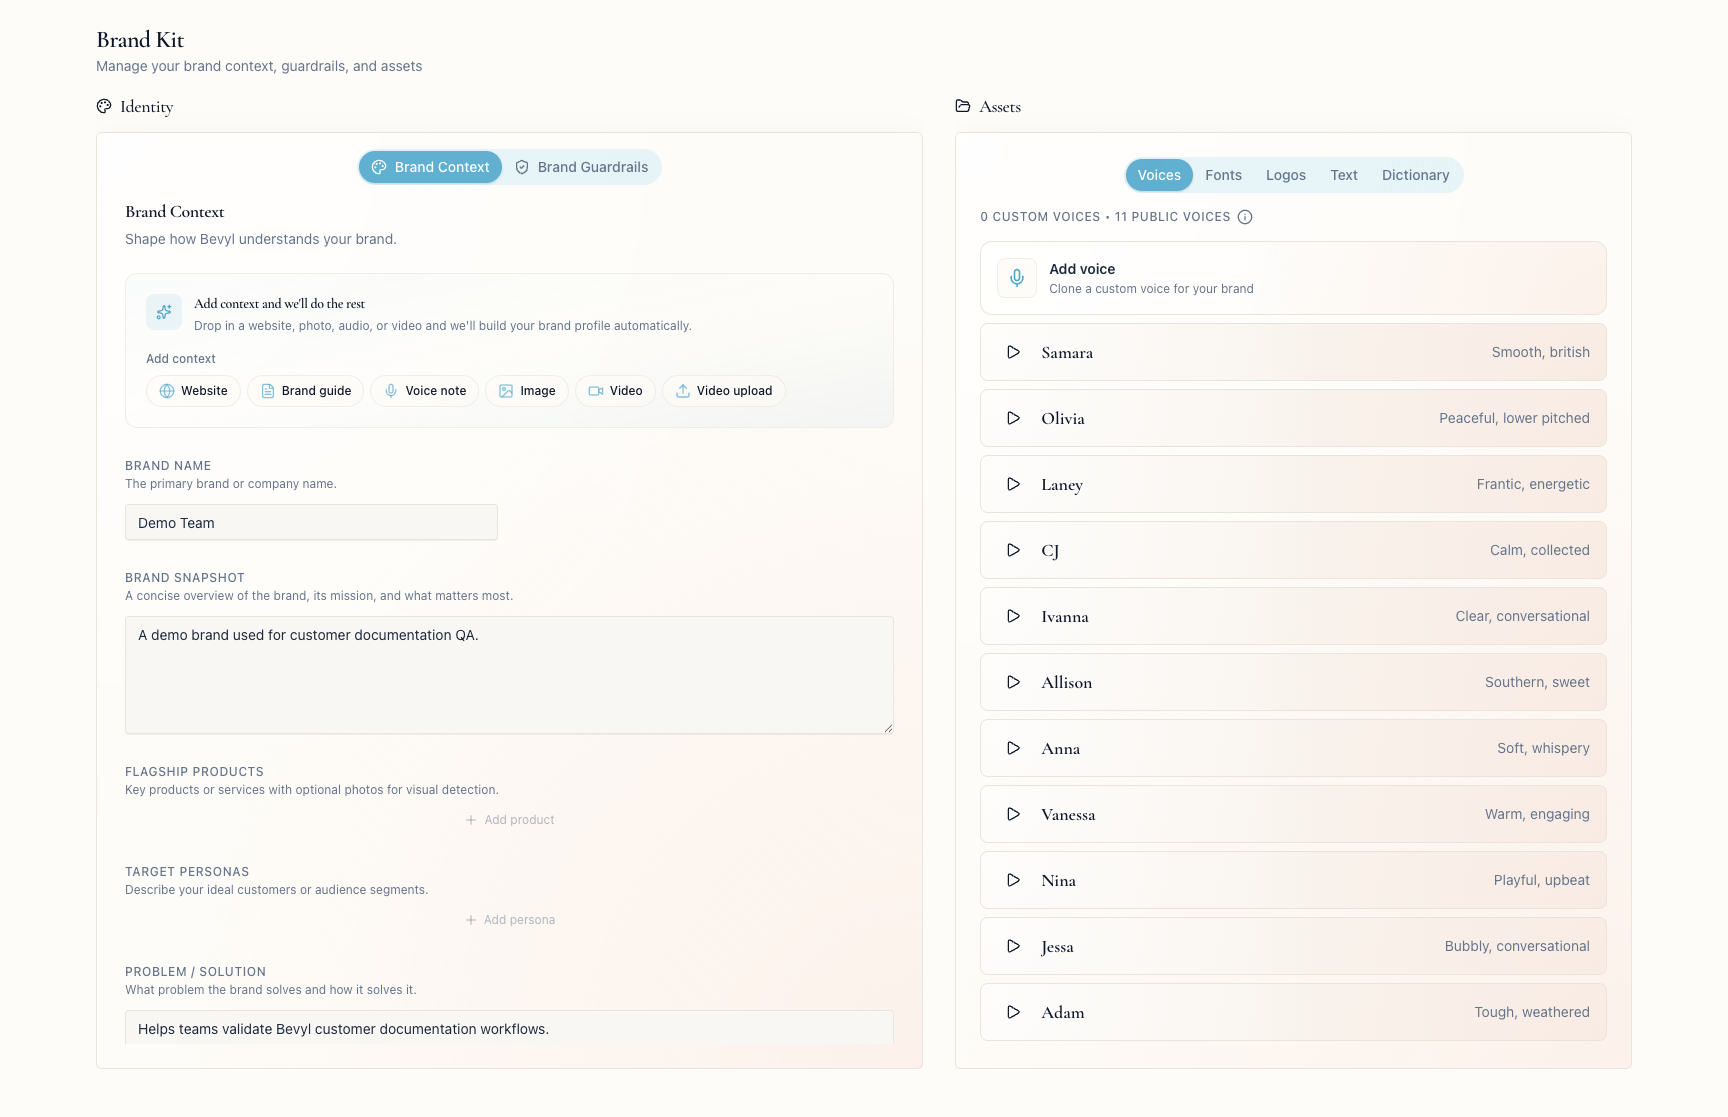
2. Go to the Fonts tab
On the right side of the page, click Fonts.
The tab holds an Upload font button — and nothing else until you add a font.
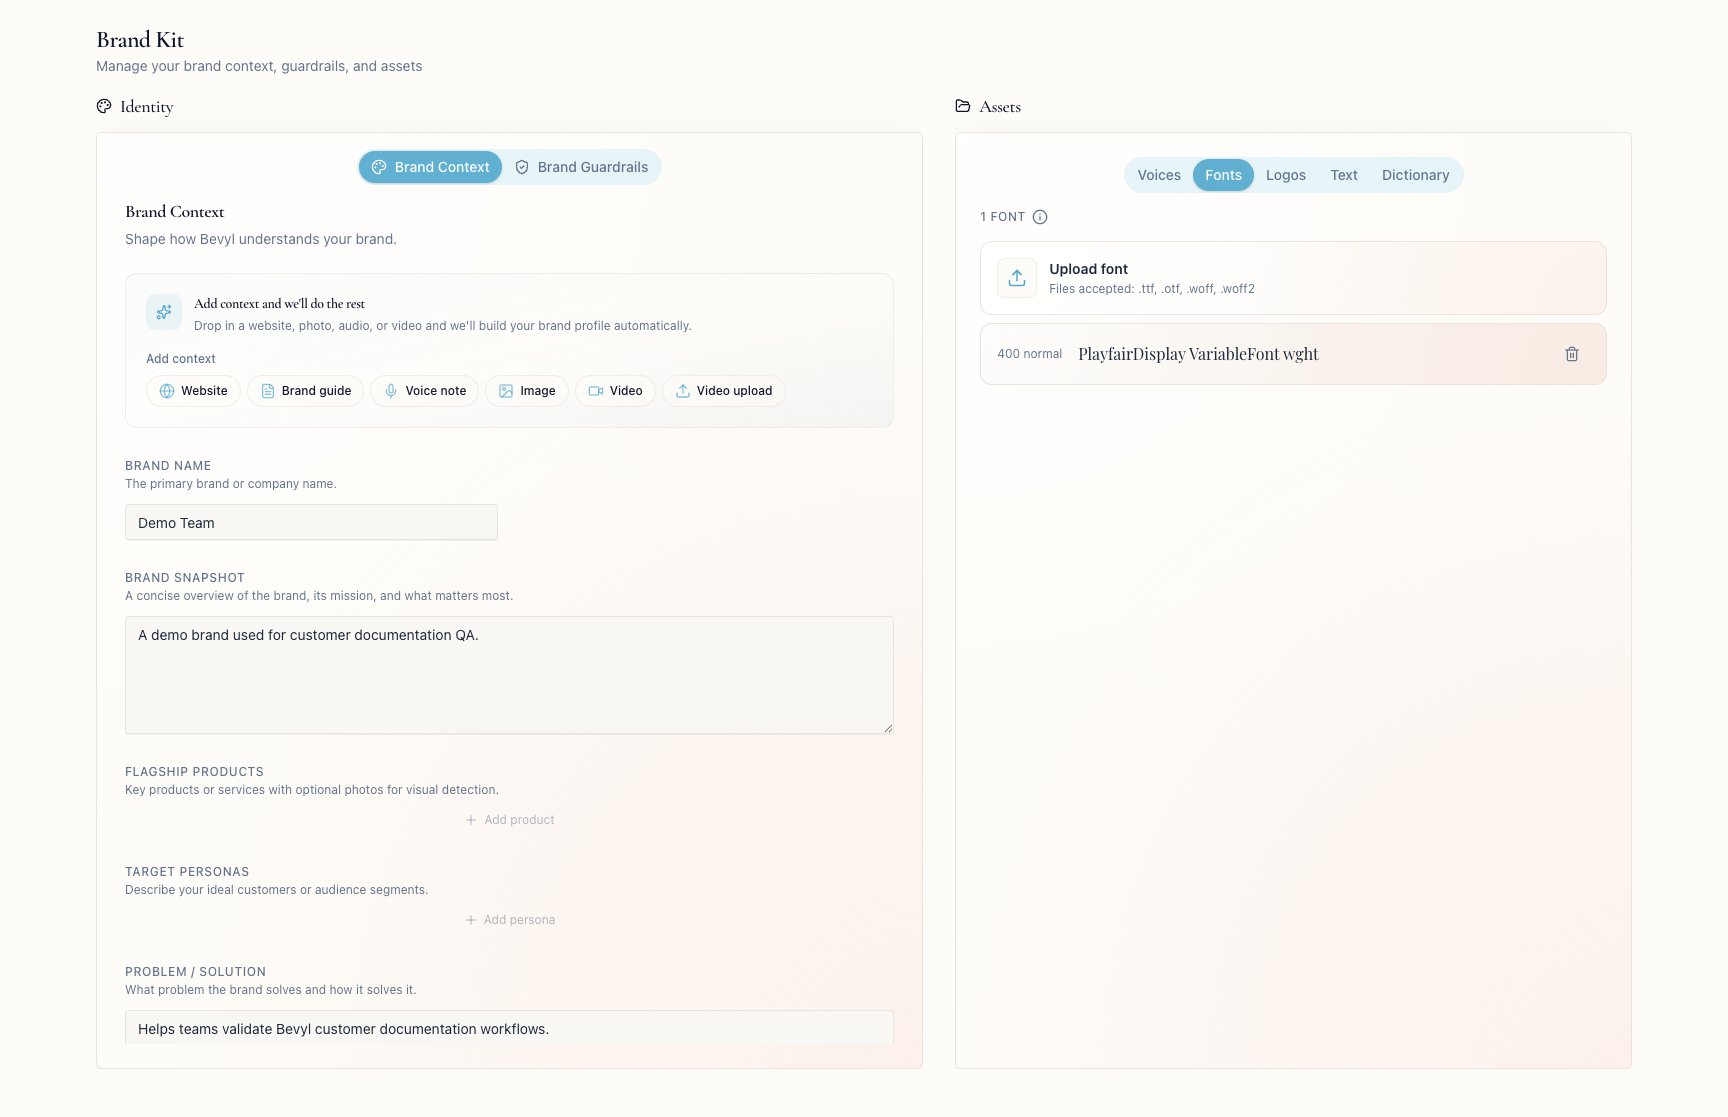
3. Upload a brand font
Click Upload font and pick a .ttf, .otf, .woff, or .woff2 file from your computer.
4. Confirm the font saved
The font appears in the Fonts tab once saved.
5. Remove a font you no longer need
Click the trash icon on the font.
Bevyl drops it from Brand Kit.
If something blocks you
Upload fontis missing or disabled: check the file extension — only.ttf,.otf,.woff, and.woff2are accepted.- The font uploads but never appears: refresh the
Fontstab and look for an upload error. - The wrong workspace is open: fonts save per workspace — switch teams, then upload again.
Done
The font sits in the Fonts list, ready for branded exports from this workspace.
Next actions:
- Add logos from the
Logostab. - Add voices from the
Voicestab.
Related articles
Need help matching your brand?
Contact Bevyl support if your font file will not upload.