Add Products, Personas, and Spokespeople
Add the products, customer personas, and spokespeople Bevyl should recognize when creating branded content.
Setup
- Sign in to the workspace whose product and audience details you want to update.
- This guide covers
Flagship Products,Target Personas, andSpokespersononly. - Required files or assets: none. Optional photos: PNG, JPG, or WEBP, under 10 MB.
Step by step
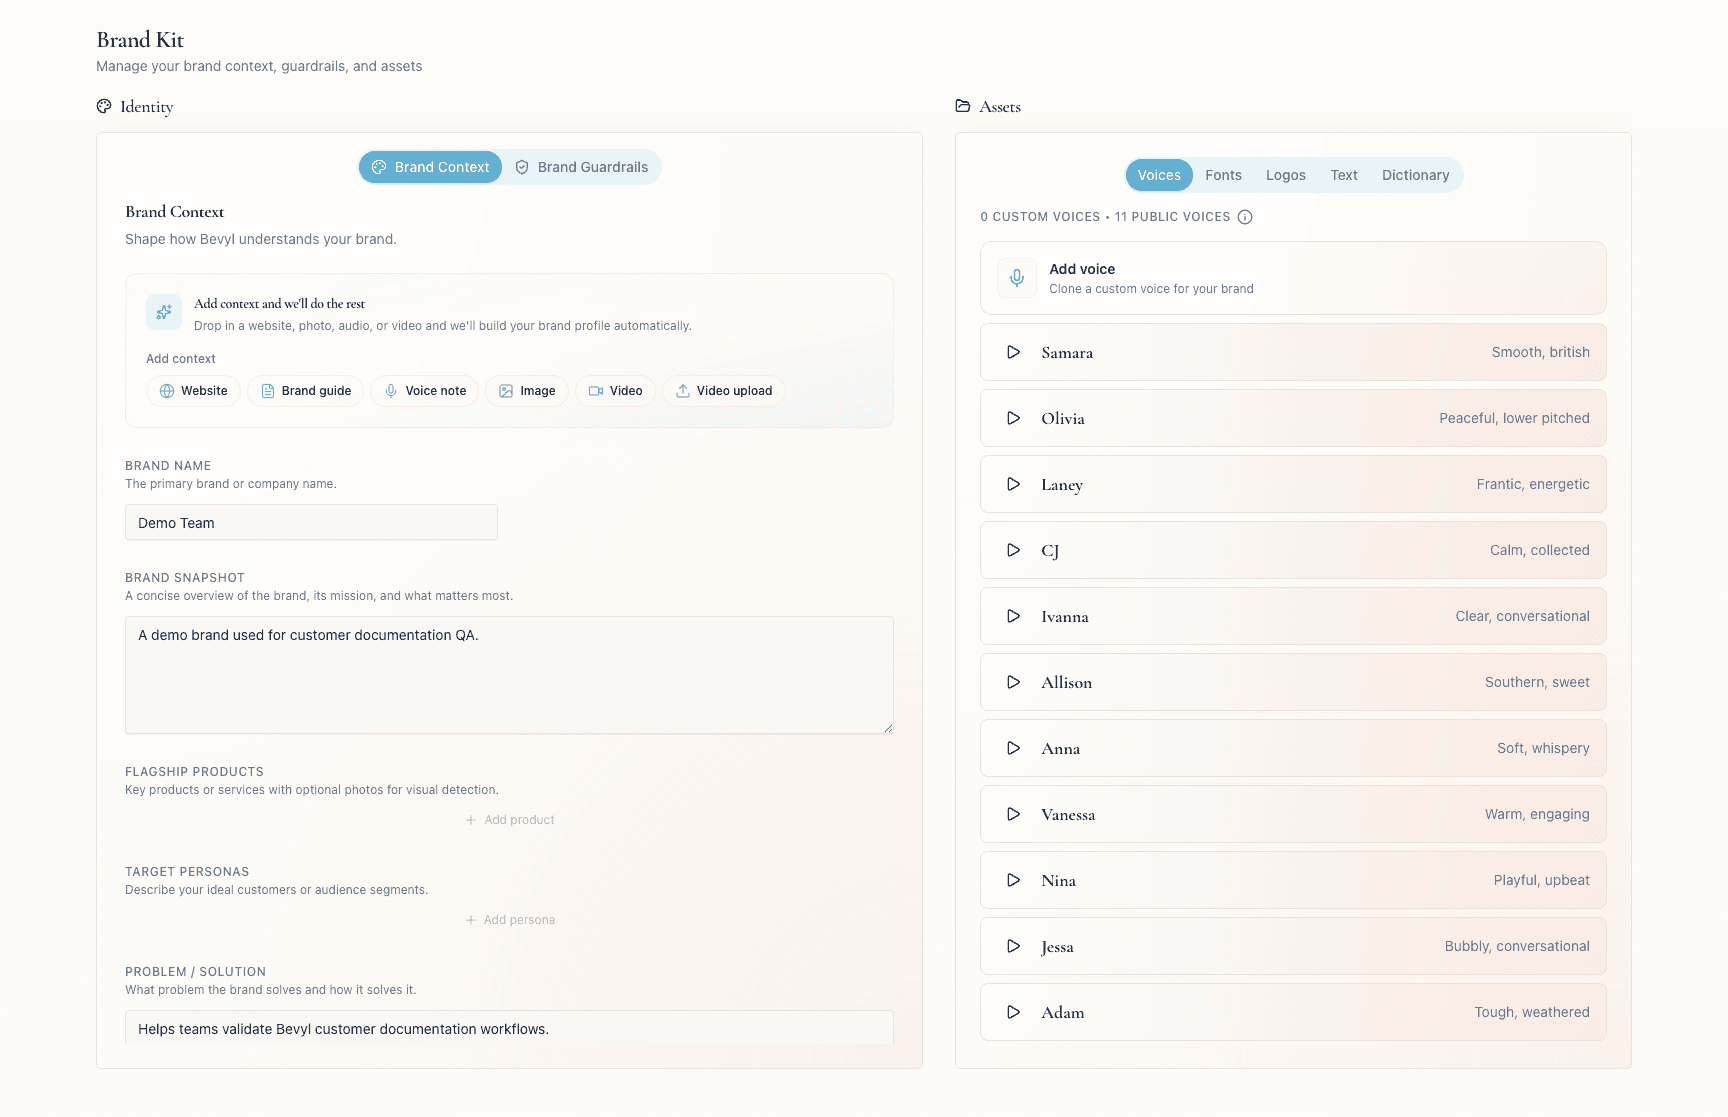
1. Open Brand Kit
From the sidebar, click Brand Kit.
The page opens on Brand Context, with the FLAGSHIP PRODUCTS, TARGET PERSONAS, and Spokesperson fields.
2. Confirm you are on Brand Context
Check that Brand Context is selected under Identity; click it if not.
Brand Guardrails, beside it, holds brand rules — not products, personas, or spokespeople.
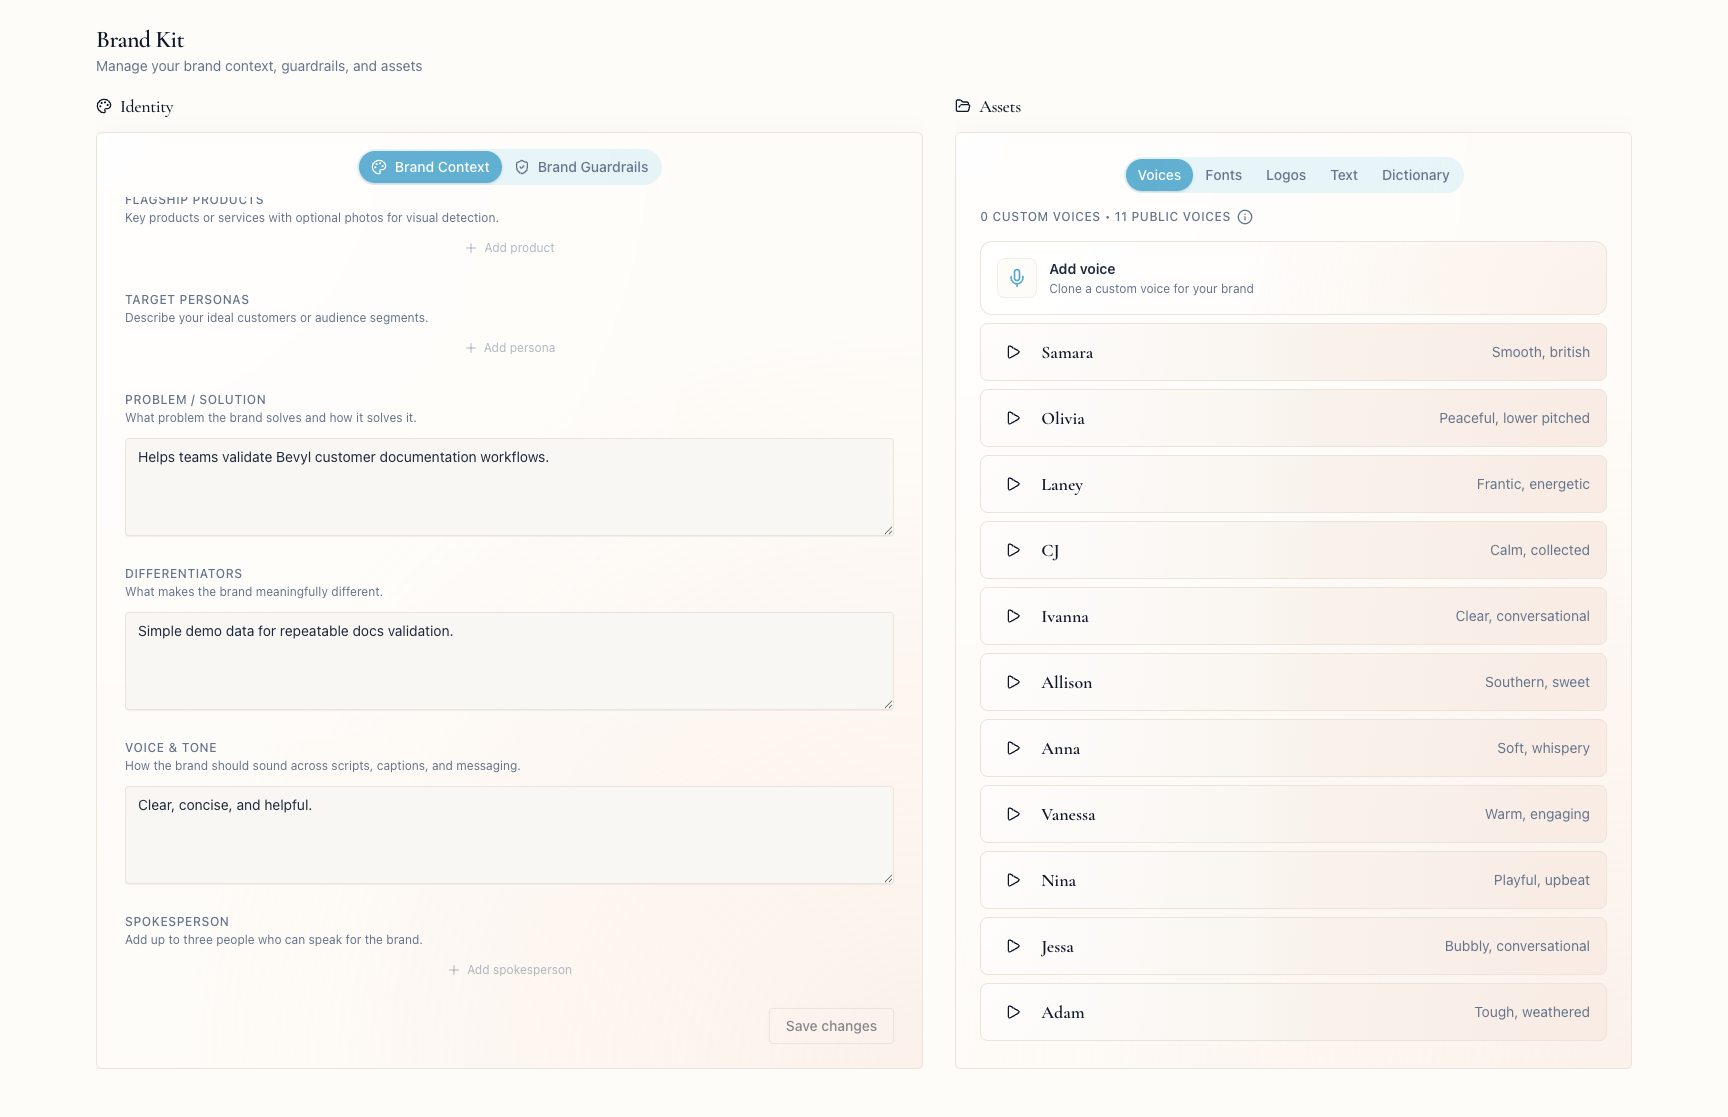
3. Add flagship products
In Flagship Products, click Add product and name the product, such as e.g. Concealer Shade 05.
The list caps at three; if Add product disappears, delete an old product or contact support.
4. Add a product photo when useful
Click the Add photo tile beside the product name.
Save the brand context and name the product first. Photos take PNG, JPG, or WEBP up to 10 MB.
5. Add the target persona
In Target Personas, click Add persona and describe the audience, such as e.g. busy professionals who value clean ingredients.
One persona at a time; if Add persona disappears, delete the old one or contact support.
6. Add spokespeople
In Spokesperson or Spokespeople, click Add spokesperson.
Enter each person's Name and Role — up to three people who speak for the brand.
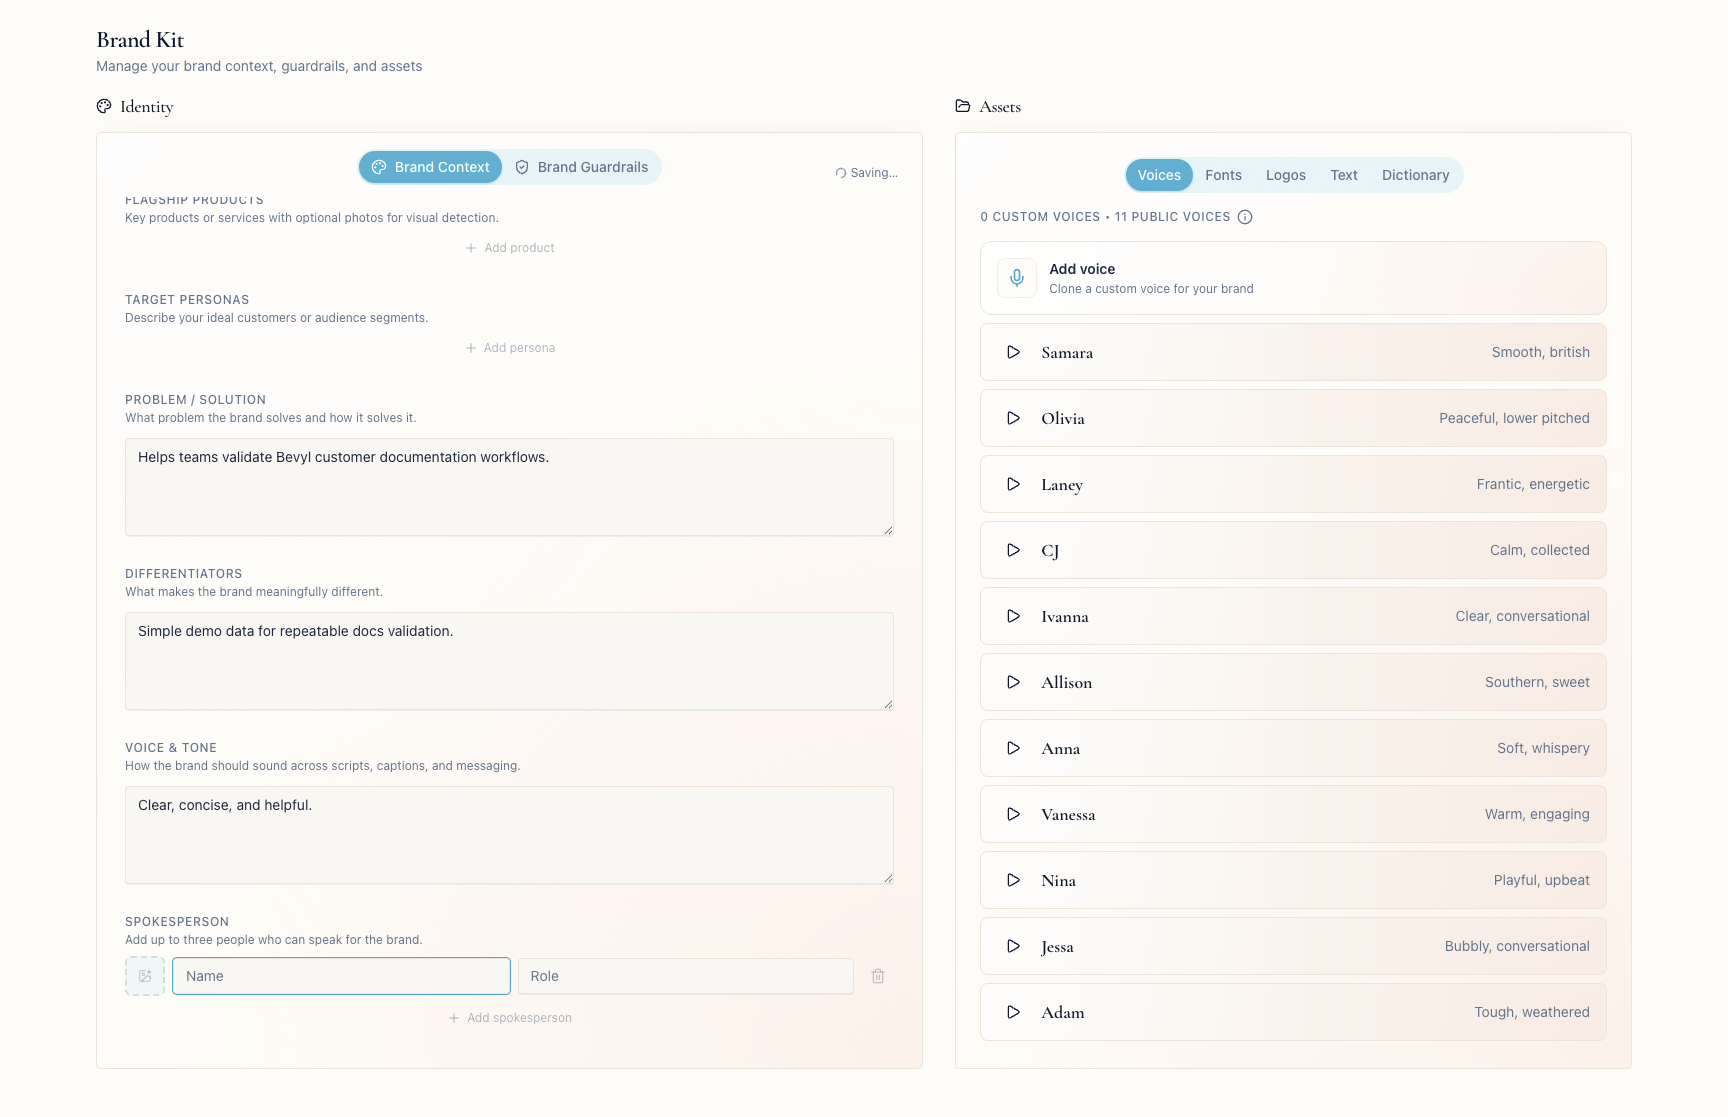
7. Save your changes
Click Save changes.
Bevyl confirms with Brand context saved.
If something blocks you
Save changesis disabled: it activates after an edit inFlagship Products,Target Personas, orSpokesperson.- A product photo will not upload: save the brand context and name the product first; keep the file to PNG, JPG, or WEBP under 10 MB.
- A spokesperson photo will not upload: save the brand context and enter the person's
Namefirst. - A spokesperson row shows an error: fill in both
NameandRole, or delete the row with its trash icon. - An add button is hidden: you hit the cap — delete an older entry (three products, one persona, three spokespeople).
Done
Brand context saved appeared, and your entries persist in Brand Context.
Next actions:
- Revisit the core
Brand Contextfields if your positioning changed. - Open
Brand Guardrailsto set the hashtags, do's, and don'ts Bevyl should follow.
Related articles
Brand details not saving?
Contact Bevyl support if product, persona, or spokesperson changes do not stay saved after refreshing.