Setup
- Sign in to your Bevyl workspace.
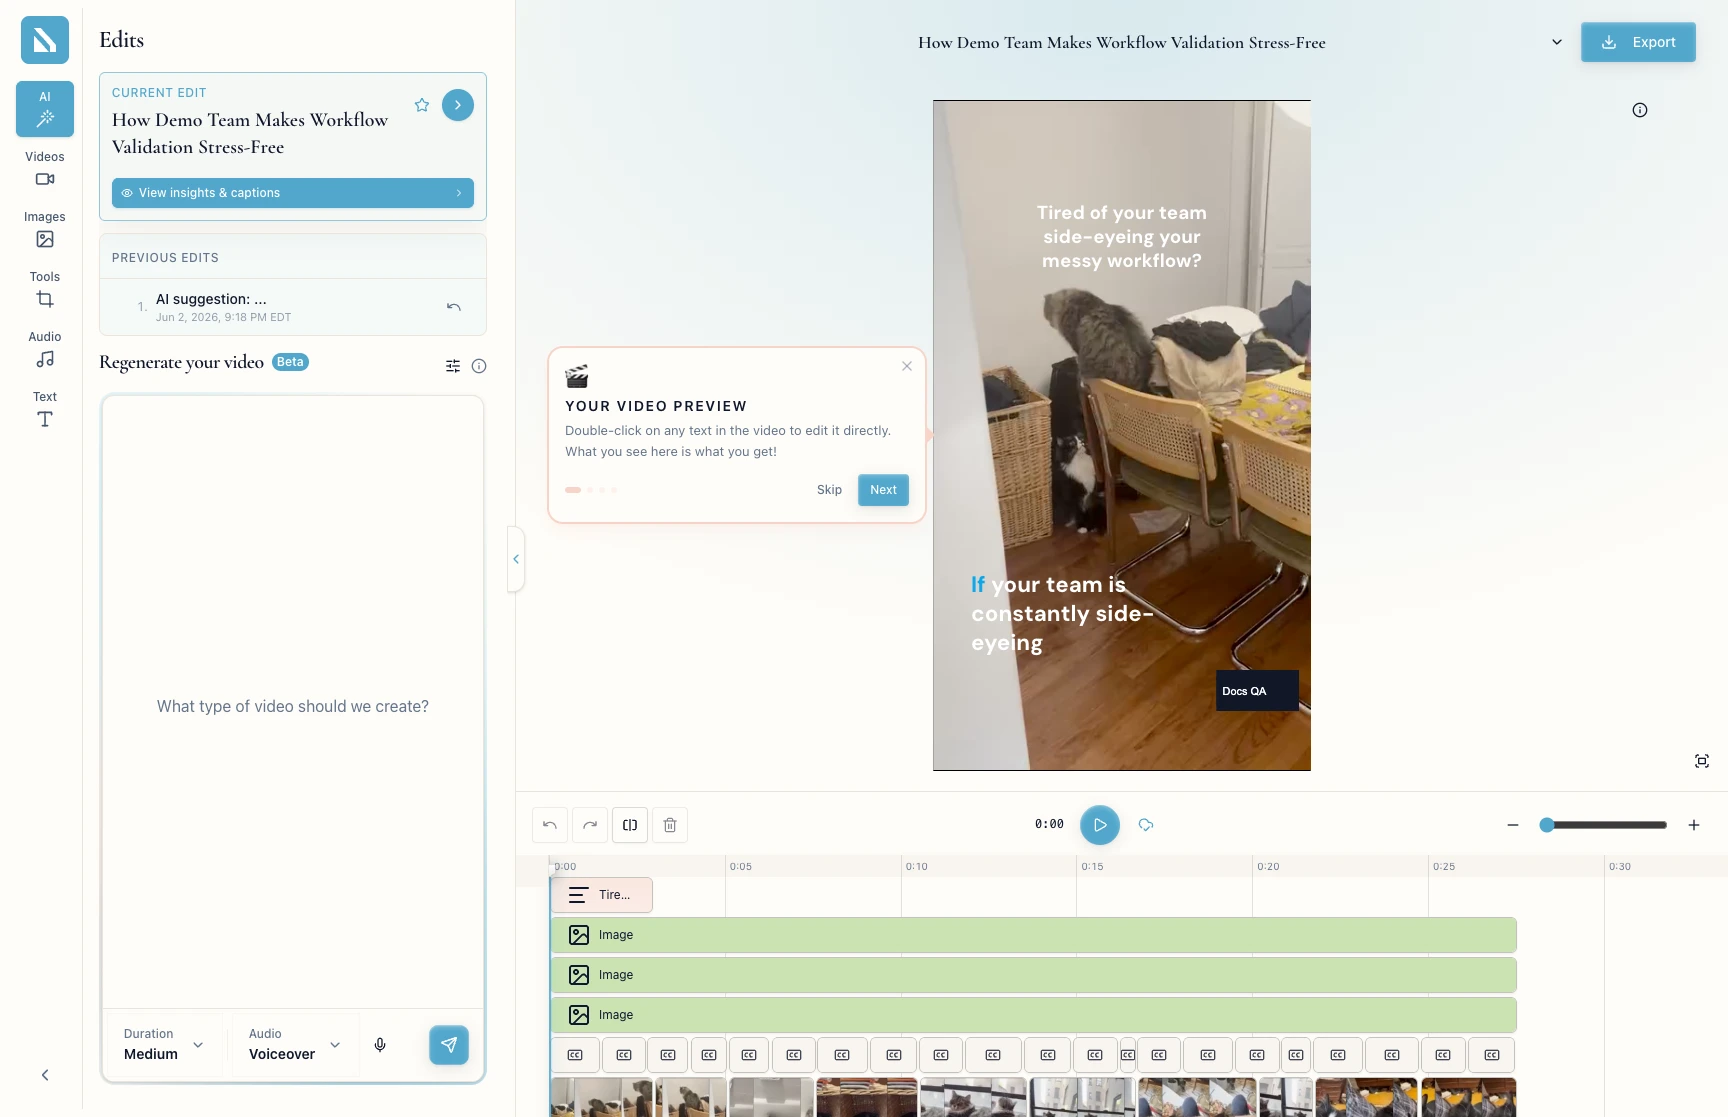
- Open a project created with the
Voiceover audio type — the label appears on the project card. - The voiceover track generates automatically when the project is created.
- Required files or assets: none; optionally, an audio file to upload as a replacement or background track.
Step by step
1. Open the Audio panel
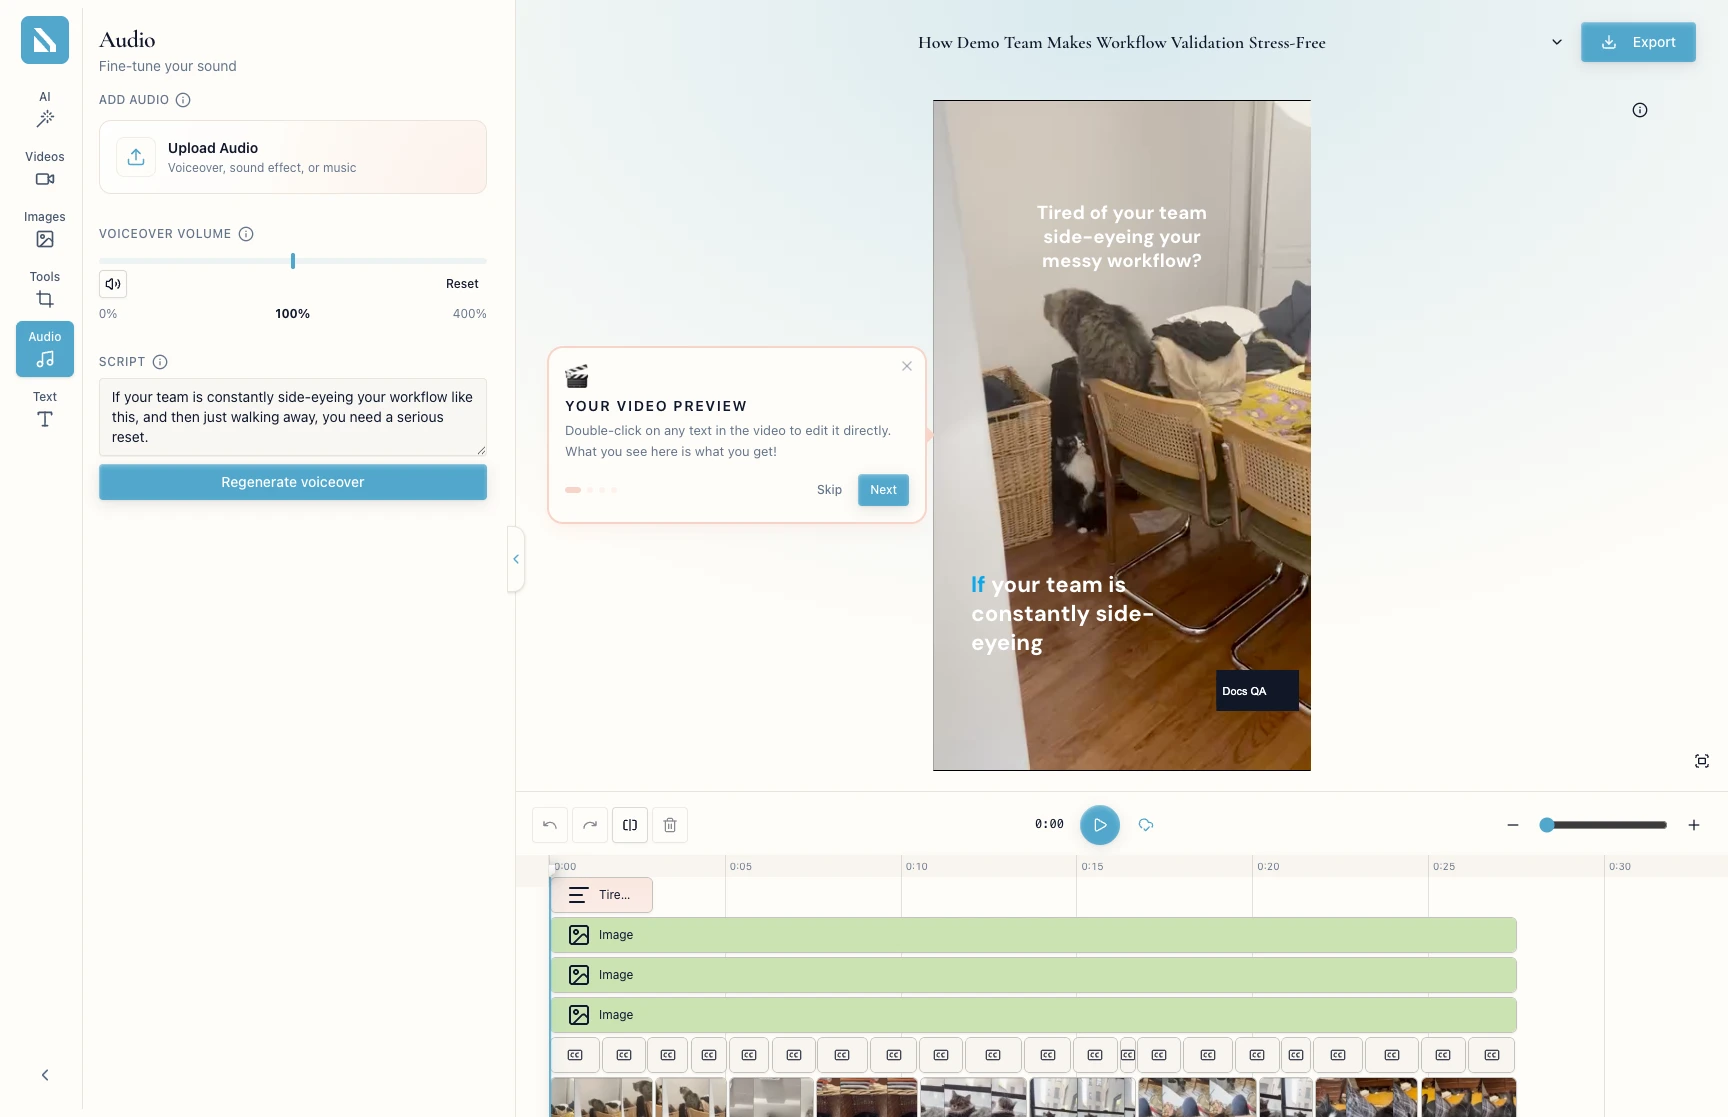
In the editor, click Audio in the left panel tabs. The panel opens with a Fine-tune your sound header.
2. Adjust voiceover volume
Under VOICEOVER VOLUME, drag the slider — 0% is silent, 400% is maximum boost. Reset restores the default.
3. Review the script
The SCRIPT section shows the voiceover text. Read it before regenerating; the new track will follow it.
4. Regenerate the voiceover
Click Regenerate voiceover to produce a new track from the current script. The timeline updates when generation finishes, and the button label returns to Regenerate voiceover.
5. Add or replace audio (optional)
Click Upload Audio under ADD AUDIO to add a background track, sound effect, or replacement voiceover. The file lands as its own track in the timeline.
If something blocks you
- The
Audio panel is missing: open the project in the editor, with the panel tabs on the left — not the create flow or the project list. Regenerate voiceover is unavailable: the first voiceover is still generating — wait for the timeline track to load.- Volume changes do not stick: the slider saves when you leave it — navigate away from the panel or export to confirm.
Done
The volume sits where you want it, the script reads as intended, and the timeline plays the updated audio.
Next actions:
Related articles
