Editor Tour: Panels and Timeline
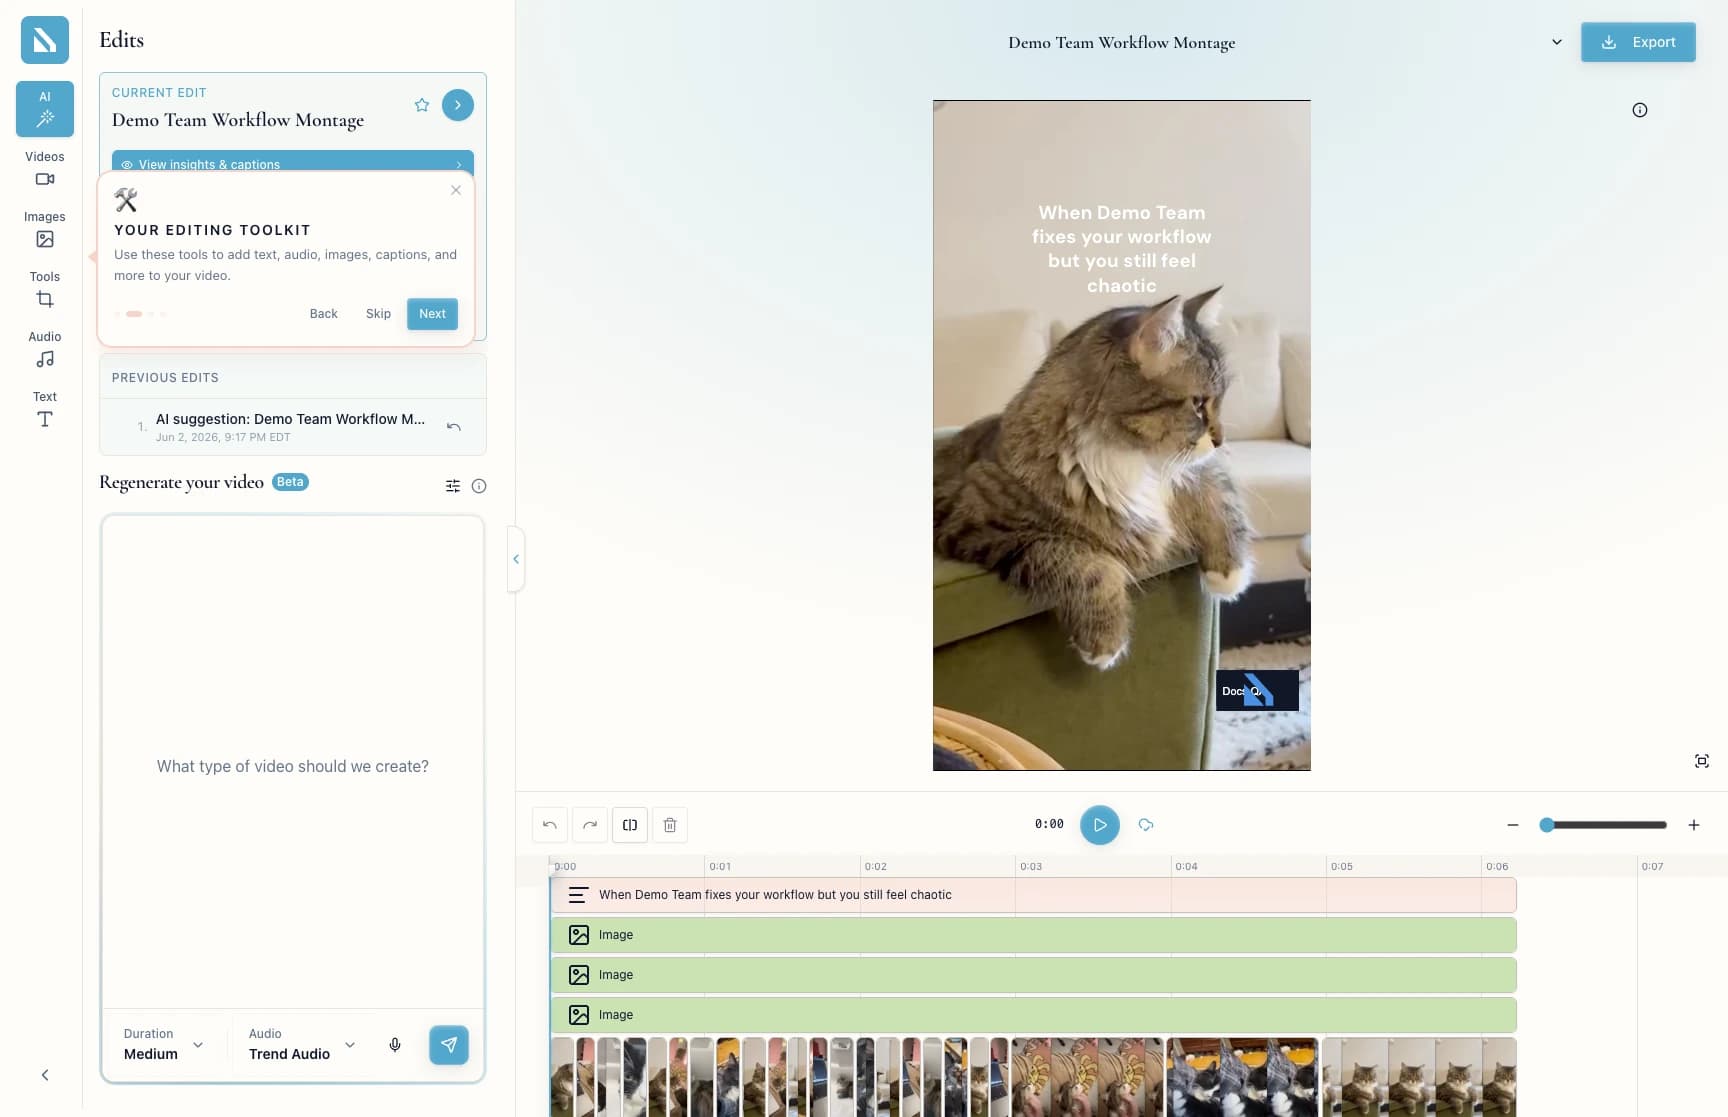
Tour the Bevyl editor (the preview, sidebar tools, timeline, and export) so you know where every key control lives and can edit faster.
Setup
- Sign in to the workspace that owns the project.
- Required files or assets: none. Use a desktop browser — the panels and timeline need the width.
Step by step
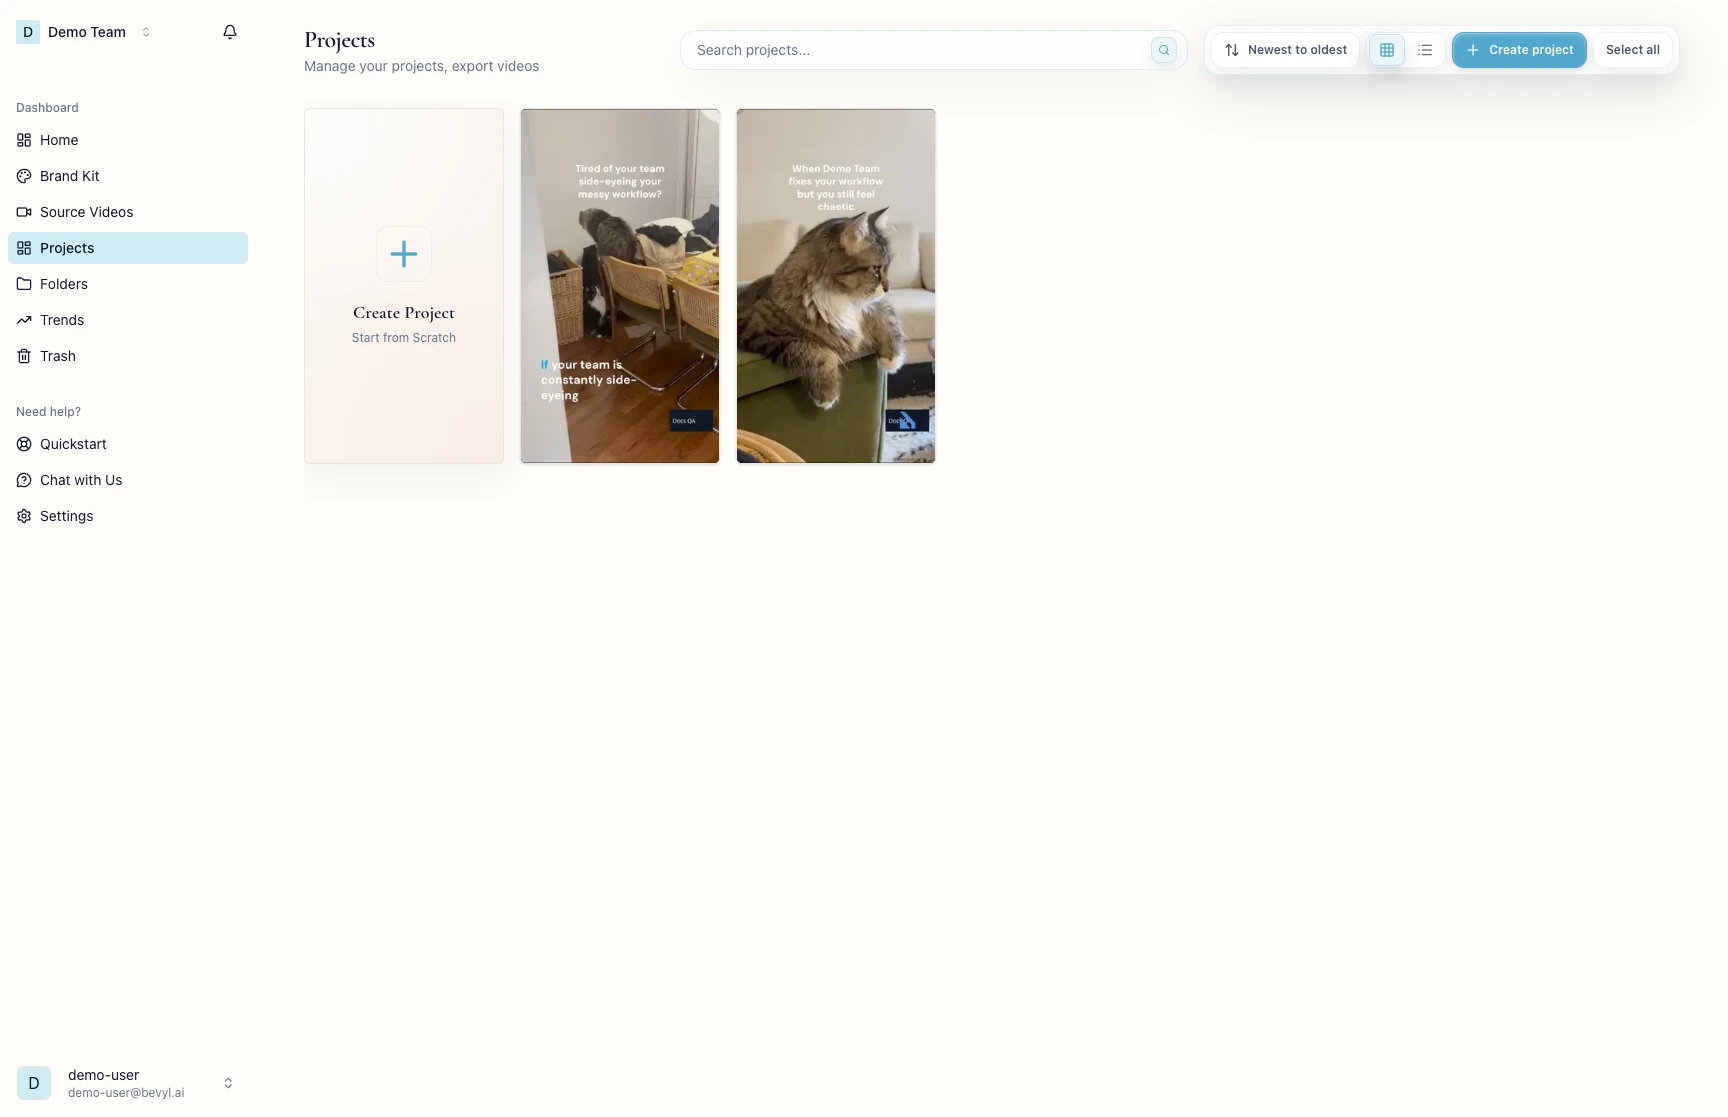
1. Open a ready project
Go to Projects and open a card marked Ready to export (not the Create Project card).
2. Watch the video preview tip
The editor opens with a built-in tour. The first tip points at the preview, where you watch the current edit.
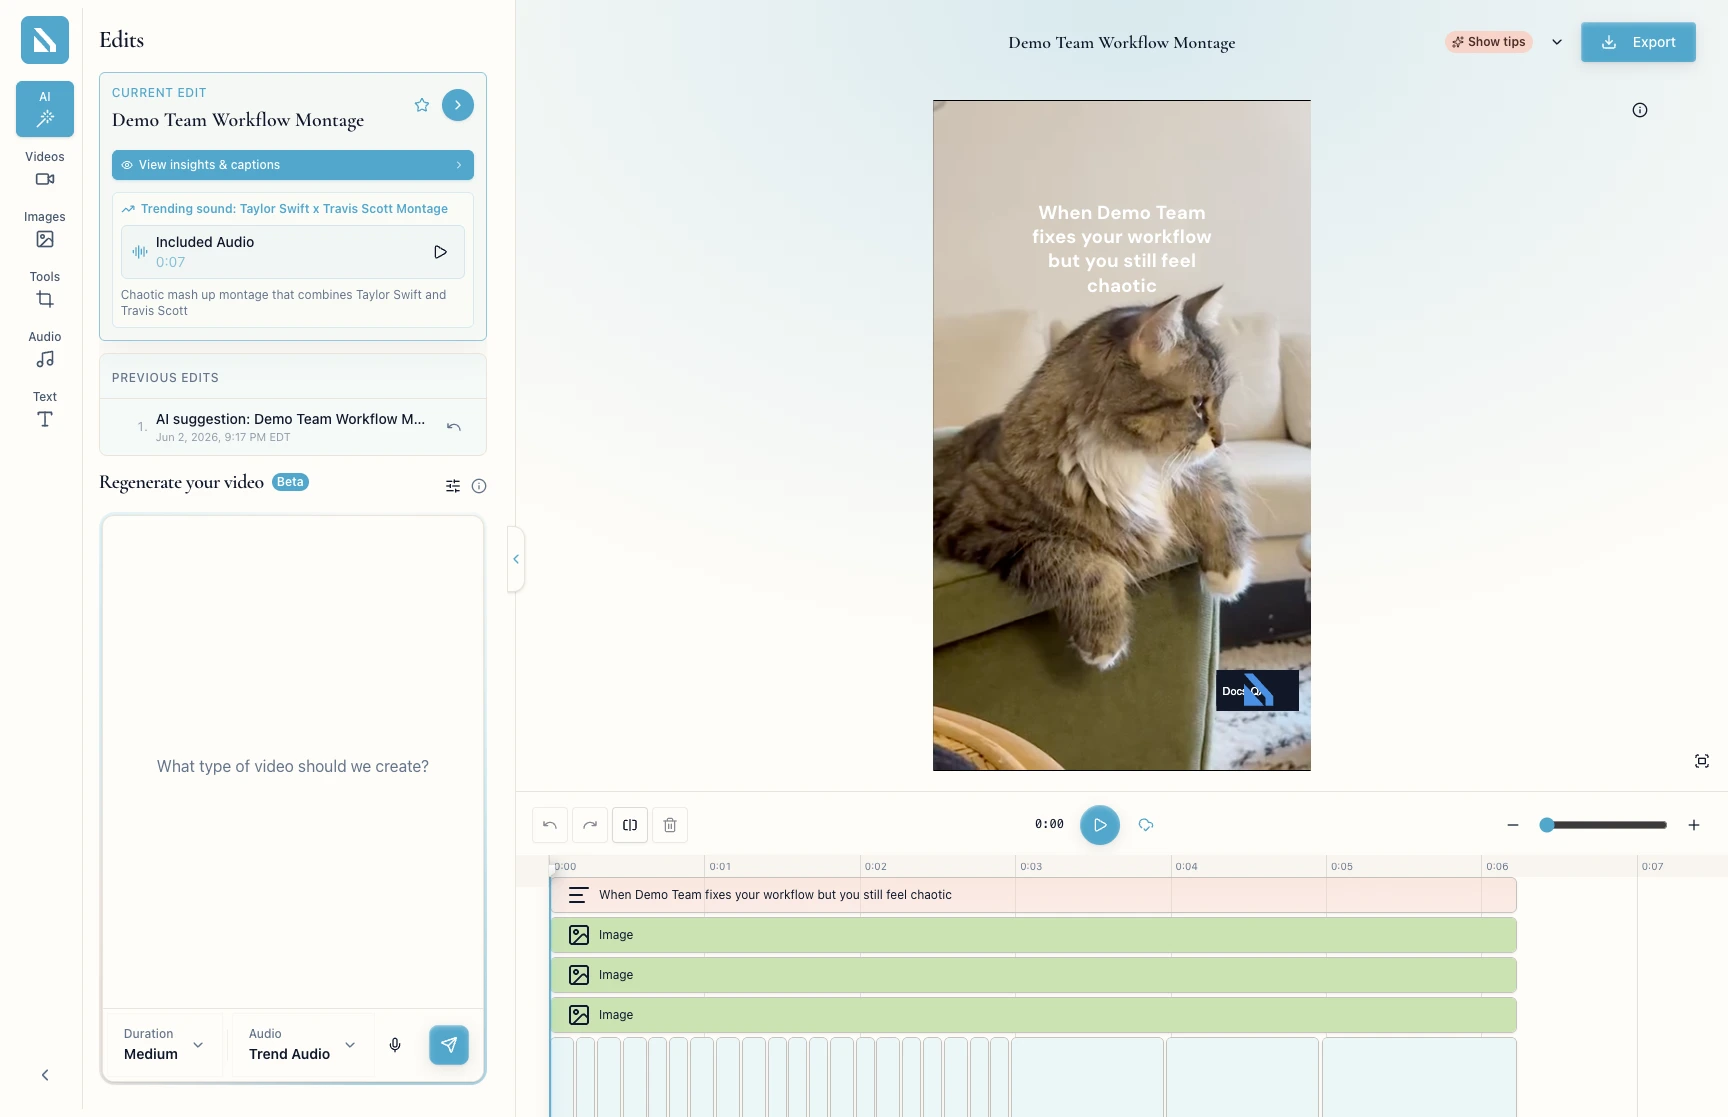
3. Review the editing toolkit
Click Next.
The second tip points at the left sidebar: AI, Videos, Images, Tools, Audio, Text, and Edits switch the editor panels.
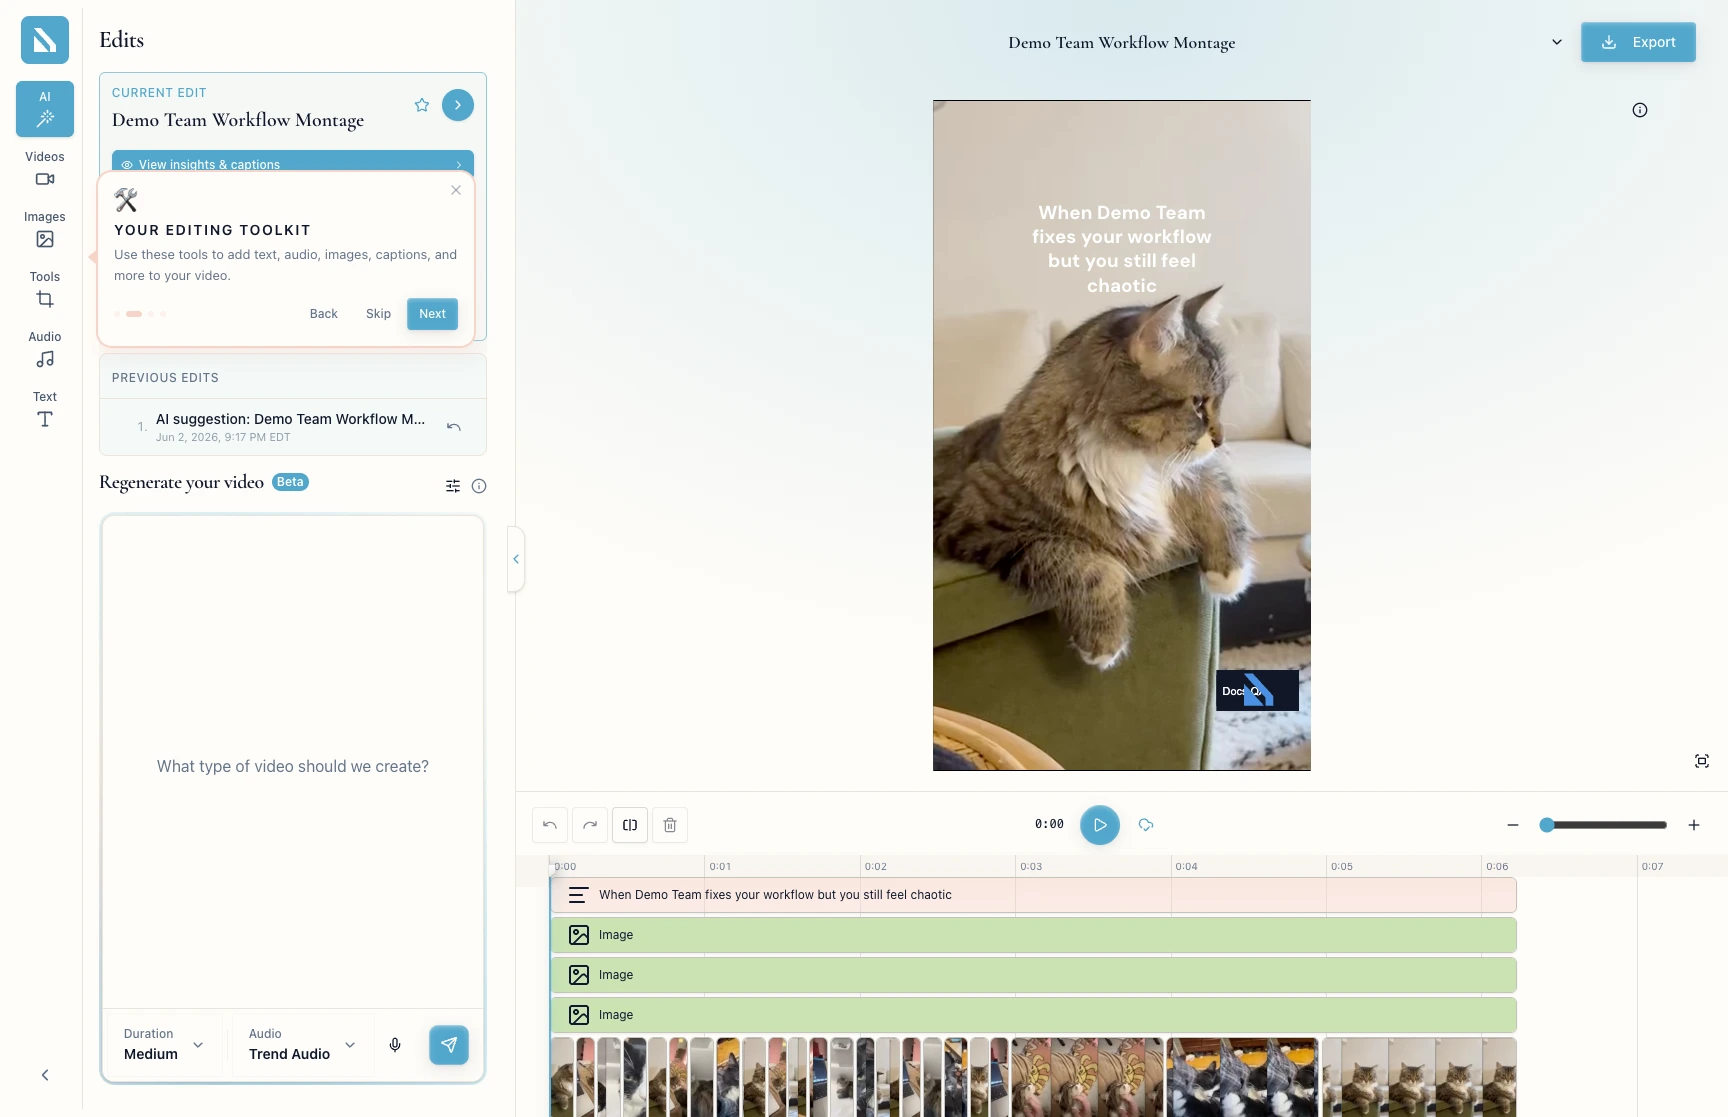
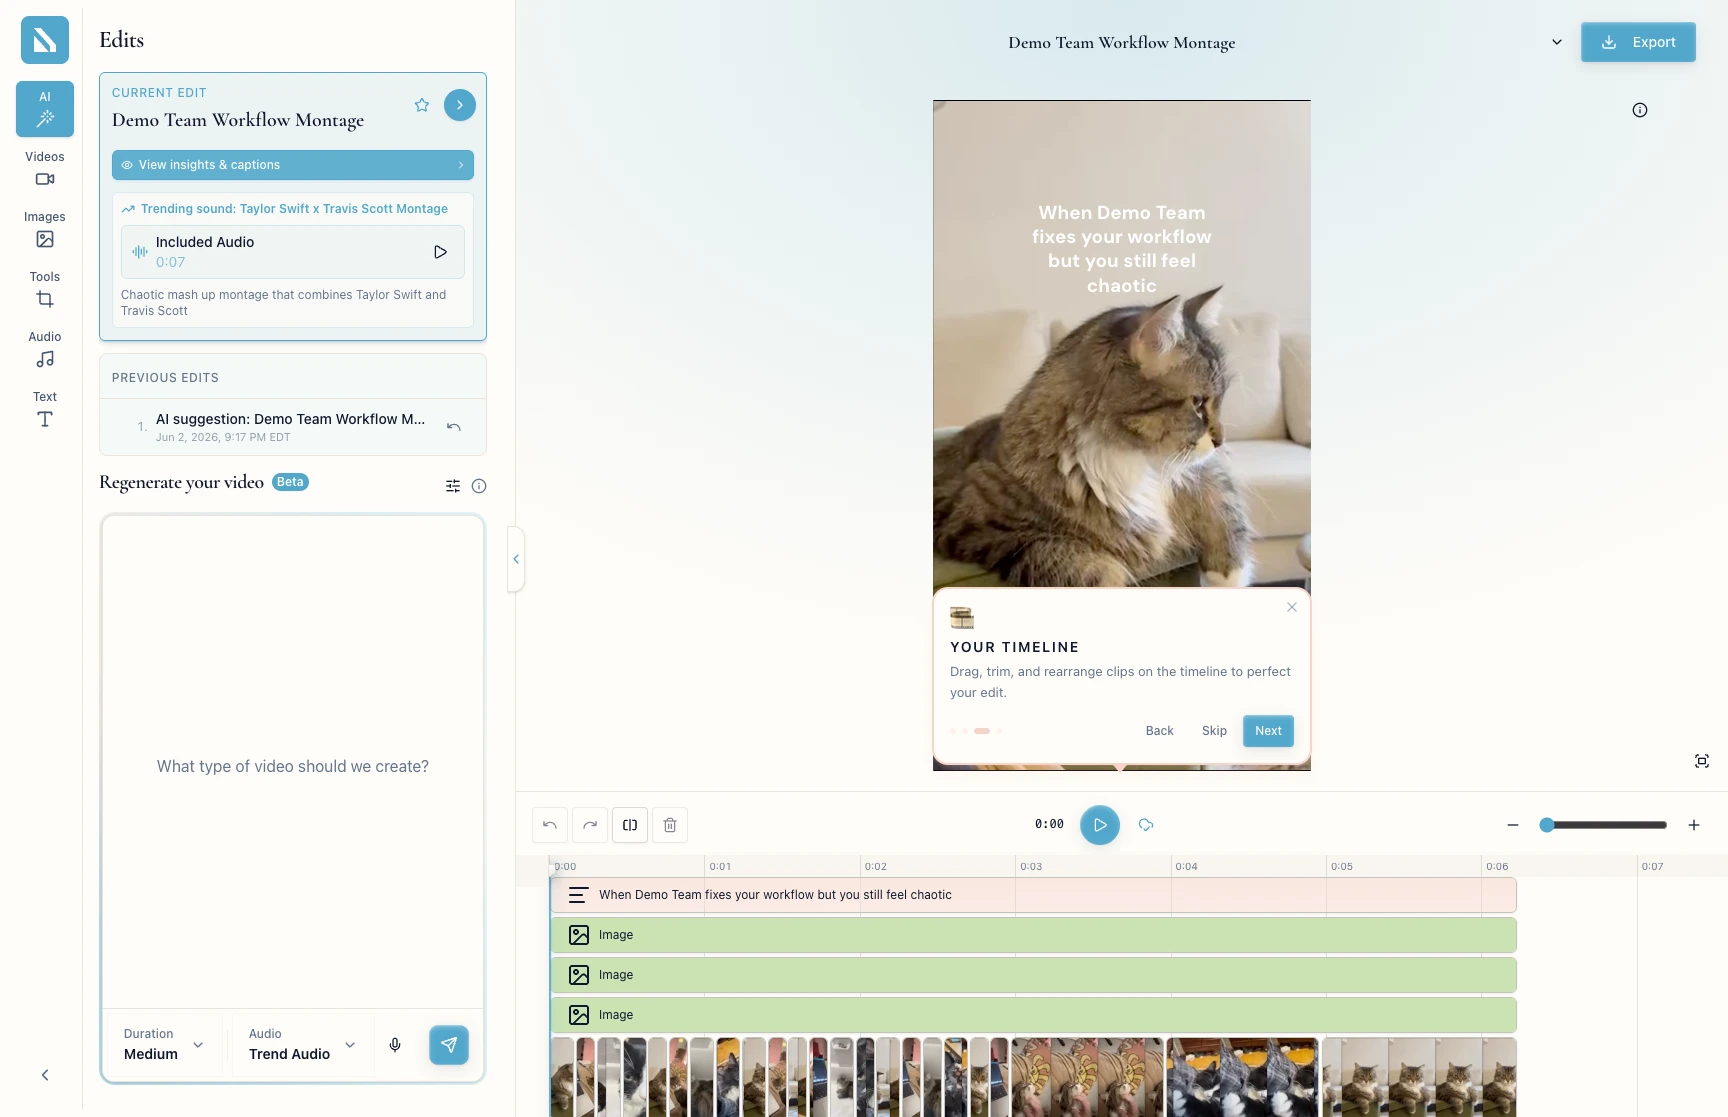
4. Find the timeline
Click Next.
The third tip points at the timeline below, where clips, captions, and audio sit in time.
5. Locate export
Click Next.
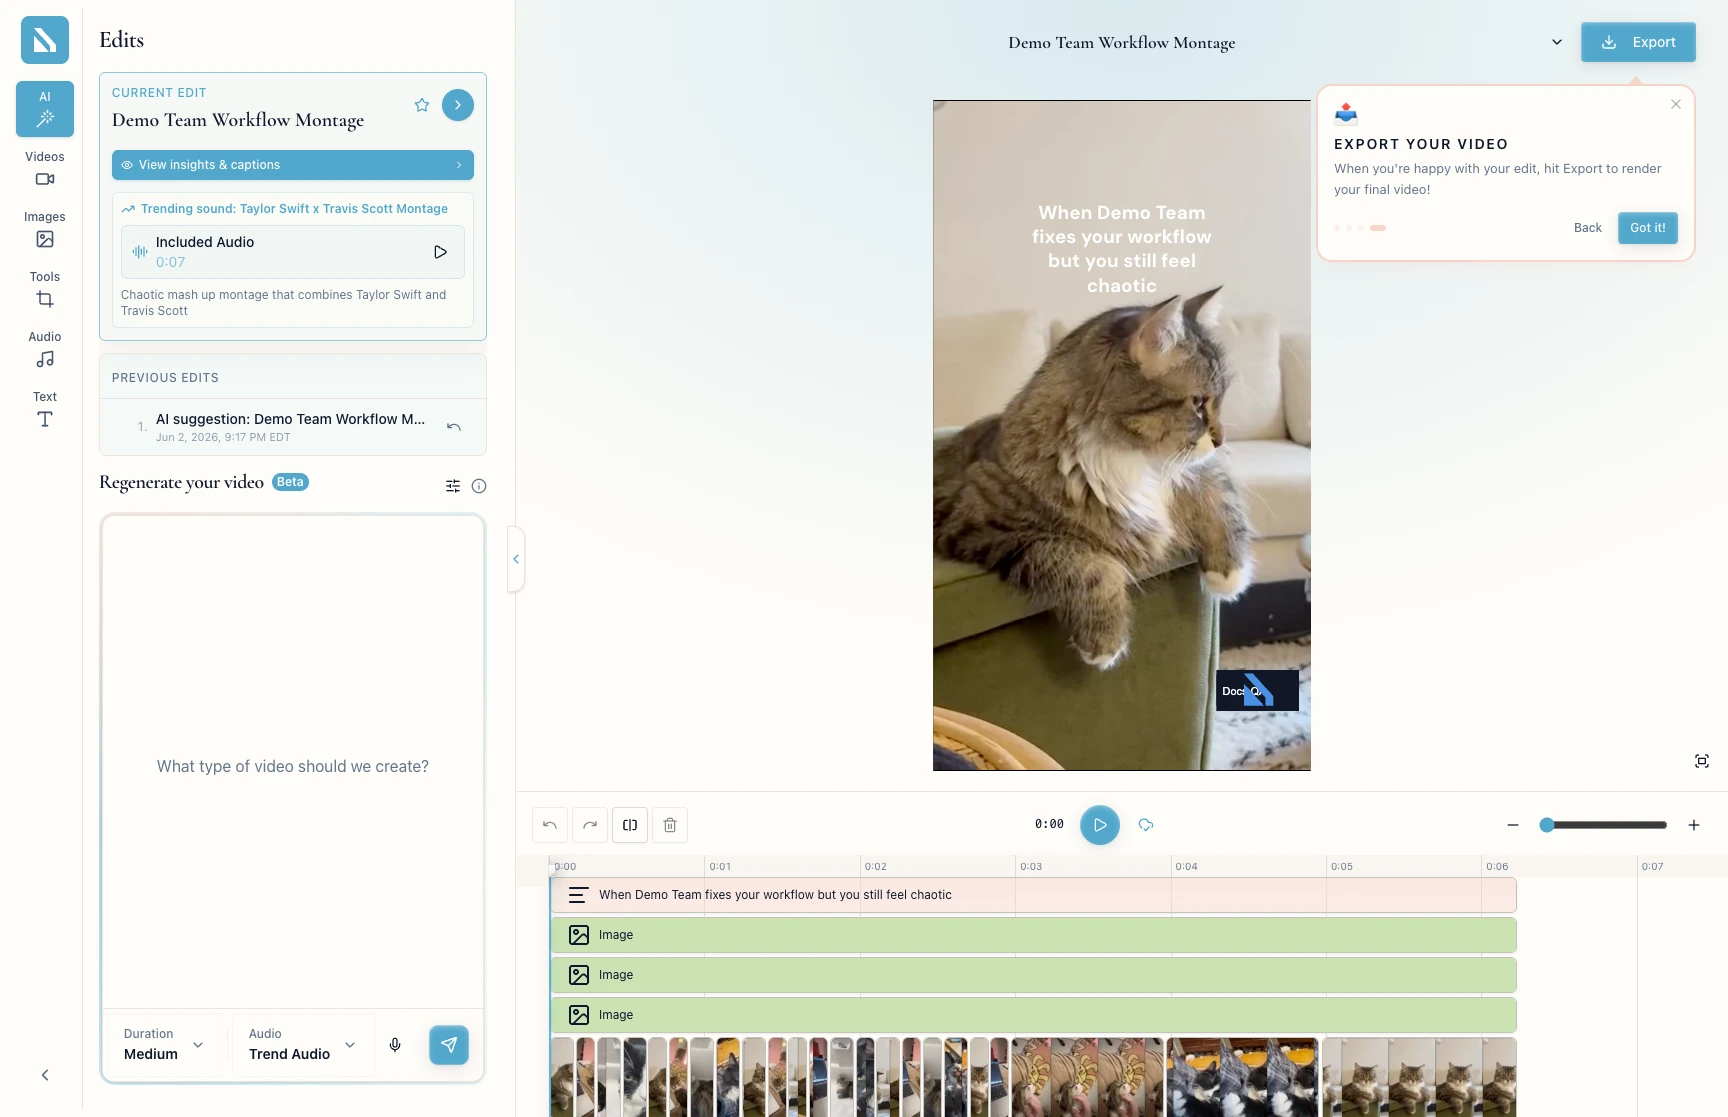
The last tip points at Export, top right. Click Got it! to close the tour.
If something blocks you
Projectshas no ready project: create one, then return once it reaches the editor.- The tour does not appear: it runs automatically on entry — refresh the page to restart it.
- The timeline is still loading: wait for the preview, ruler, and clip tracks to appear.
Done
You know where to preview, switch panels, read the timeline, and export.
Next actions:
- Open the panel for your next change.
- Play the full edit before clicking
Export.
Related articles
Editor not loading?
Contact Bevyl support if a ready project opens but the preview, sidebar, or timeline does not appear.