Audio Polish: Background Music and Levels
Polish your video's audio in the Bevyl editor: add background music and balance it against voice levels for a cleaner, more professional final cut.
Setup
- Sign in to your Bevyl workspace.
- Open a project generated with audio — voiceover or trend audio.
- Every editor project has an
Audiopanel in the left sidebar. - Required files or assets: none; optionally, a music or sound-effect file to upload.
Step by step
1. Open your project in the editor
Open your project from the home page or project list. If a result screen appears, click Take me to my video.
2. Open the Audio panel
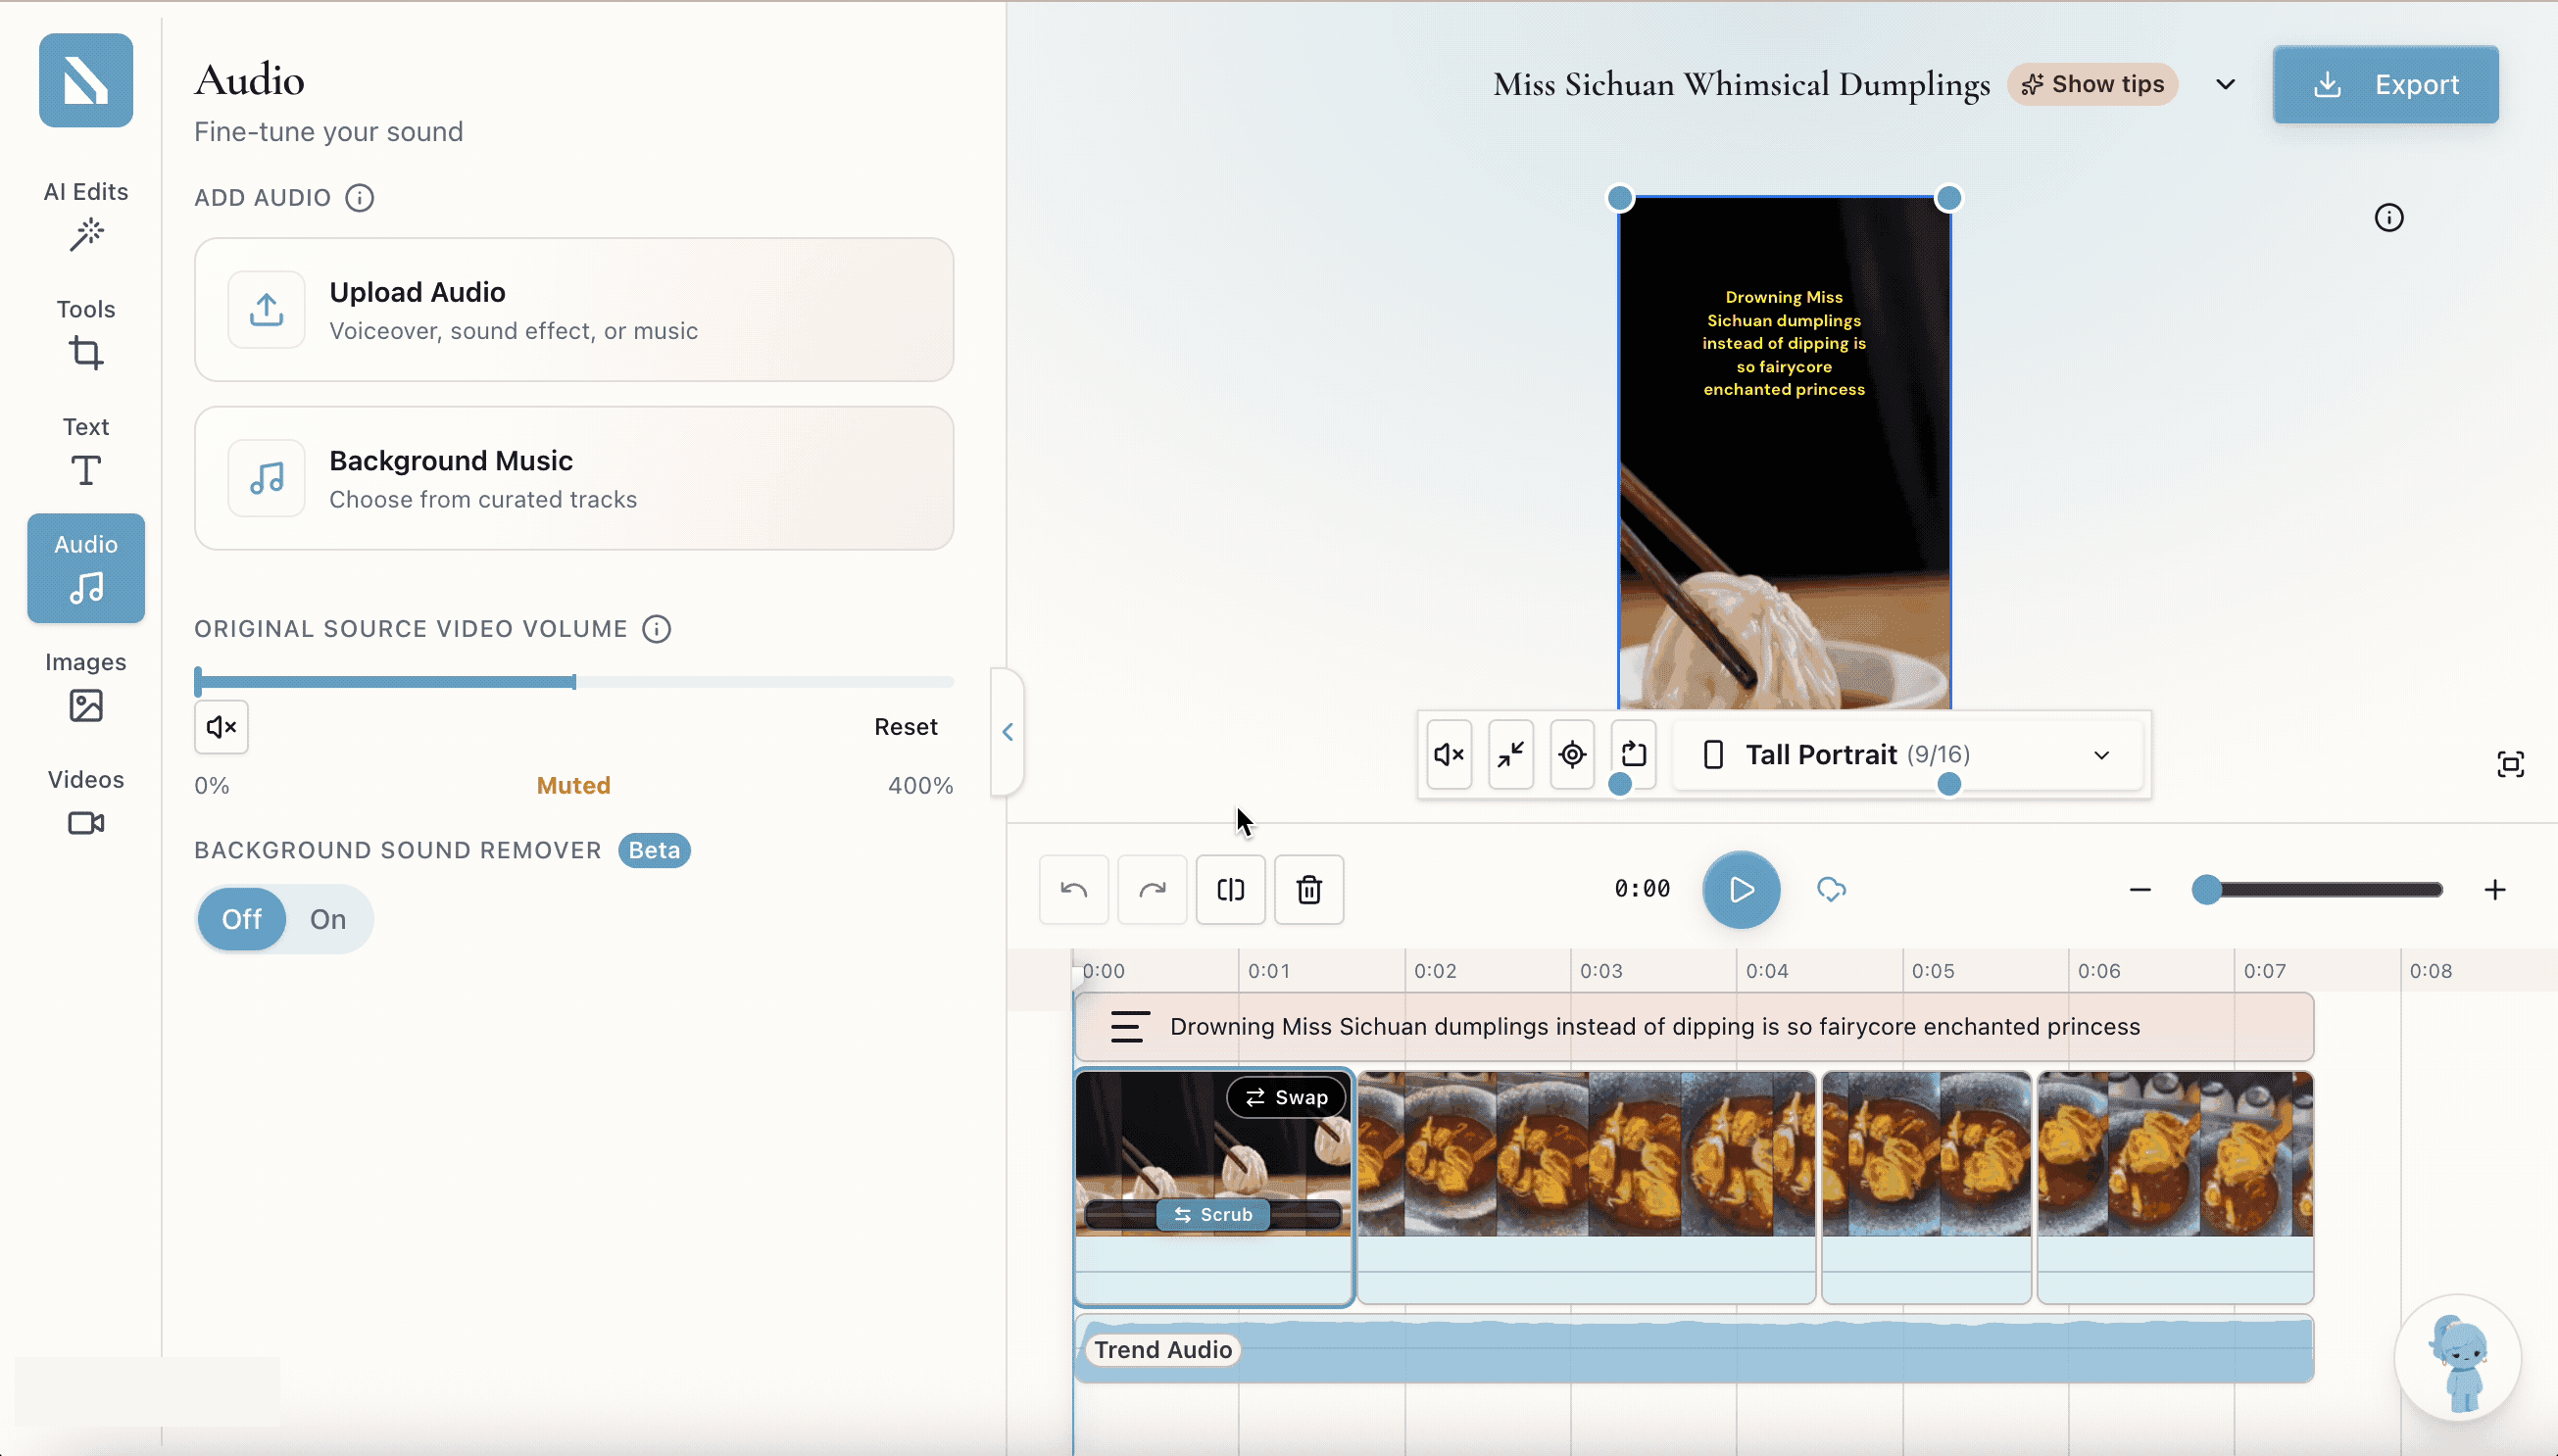
Click Audio in the left sidebar. The panel opens under the heading Audio — Fine-tune your sound.
The panel holds:
ADD AUDIO: anUpload Audiobutton for a voiceover, sound effect, or music file, and aBackground Musicbutton for curated tracks.ORIGINAL SOURCE VIDEO VOLUME: a 0% to 400% slider withReset, controlling the sound your source footage recorded. It readsMutedwhile that sound is off.BACKGROUND SOUND REMOVER(Beta): anOff/Ontoggle for background-noise removal on the source audio.

3. Adjust the volume
Drag ORIGINAL SOURCE VIDEO VOLUME left for quieter, right for louder, or use the mute button beside it to silence the source footage entirely — useful when a trending sound or voiceover should lead. Reset restores the default.
4. Add or replace audio (optional)
Click Upload Audio under ADD AUDIO. The Add Audio Clip dialog opens: click Choose File, pick an audio file (MP3, WAV, M4A, or AAC), and click Add audio clip. It lands as its own track in the timeline.
Or click Background Music to choose from curated tracks instead of uploading your own.

5. Preview and export
Play the timeline from the top. The voice should ride clearly above any background track.
When the mix is right, click Export in the top-right corner.
If something blocks you
- The
Audiopanel shows no volume slider: the project has no audio track — regenerate the video, or add one withUpload Audio. - The export ignores your volume change: audio applies at render time; let the export finish.
- The source footage's own sound competes with your track: lower
ORIGINAL SOURCE VIDEO VOLUME, or mute it with the button beside the slider. - Background noise leaks through: switch
BACKGROUND SOUND REMOVERtoOn.
Done
The mix is set, and the exported video plays with the balance you chose.
Next actions:
- Export, notify, and download the finished cut.
- Regenerate the voiceover if the script itself needs changes.
Related articles
Need help with this workflow?
Contact Bevyl support if the audio panel is unavailable or volume changes are not saving.